Products
AI Platform
Asana Foundations
Company Type
Visit our pricing page for more information.
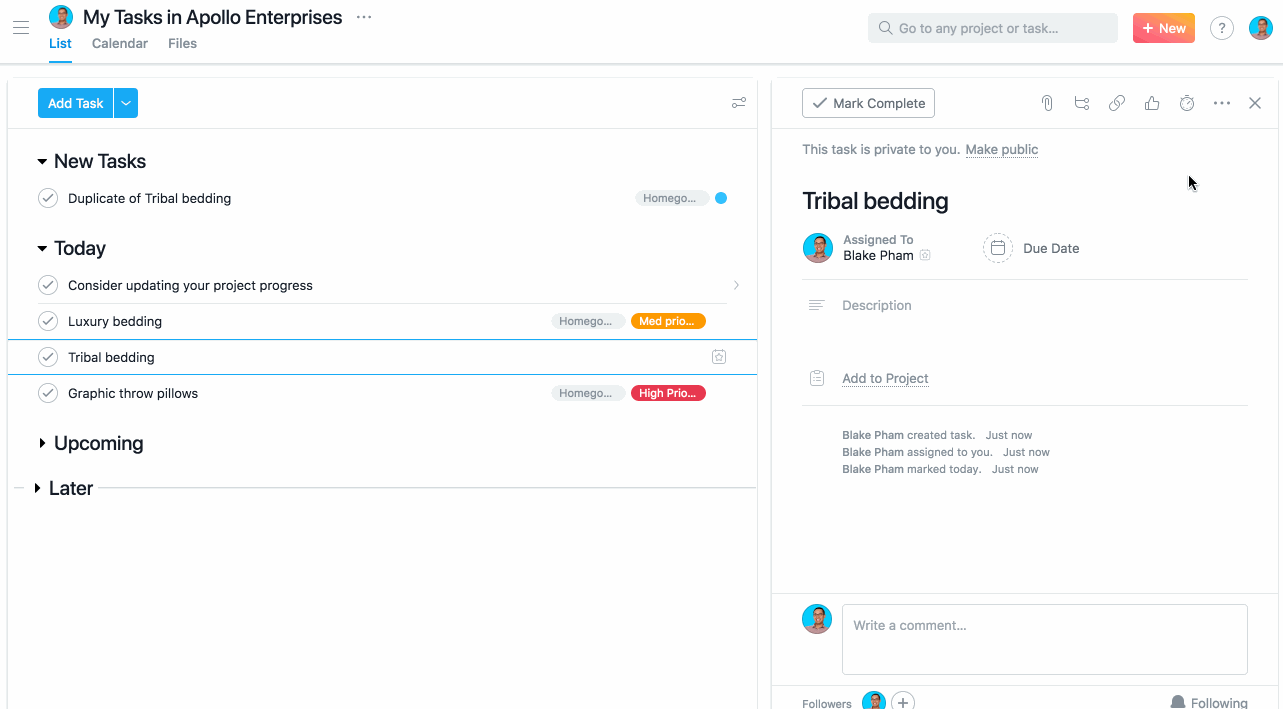
Tasks are the basic unit of action in Asana. You can create new tasks, duplicate an existing task, merge two tasks together, print or delete a task. Task names are listed in the main pane. Click any task to load its details in the task details pane.
Learn the basics of task management in our Getting started with Asana virtual training. Register now.
Create tasks quickly by typing them in a list in the main pane or by using our quick add shortcut. You can also create tasks by sending an email to Asana from any email address associated with your account or via your iOS and Android devices.
Task names are often the calls to action for the task, while more specific information resides in the task description, an editable field in the task details pane, and in the comments.
Think of Asana's main pane as a text editor. Create and edit tasks by typing text in the main pane.

Enter on your keyboardNote
A task will automatically delete itself if you do not name the task. If you would like to keep an empty task, simply add a space in the title field.
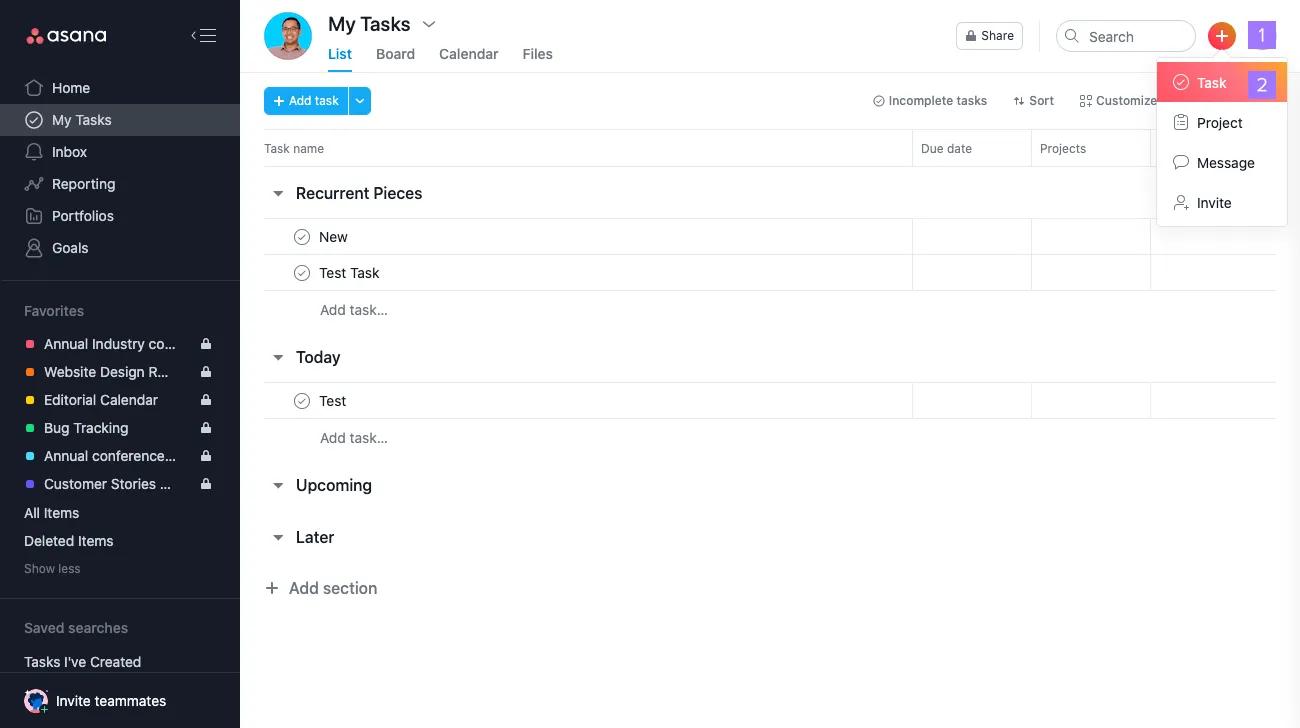
Use quick add to easily create a task from anywhere in Asana.
Press
Tab + Qon your keyboard to open up the quick add task dialog.

Available custom fields will show in your quick add menu when you add the task to a project that uses them.
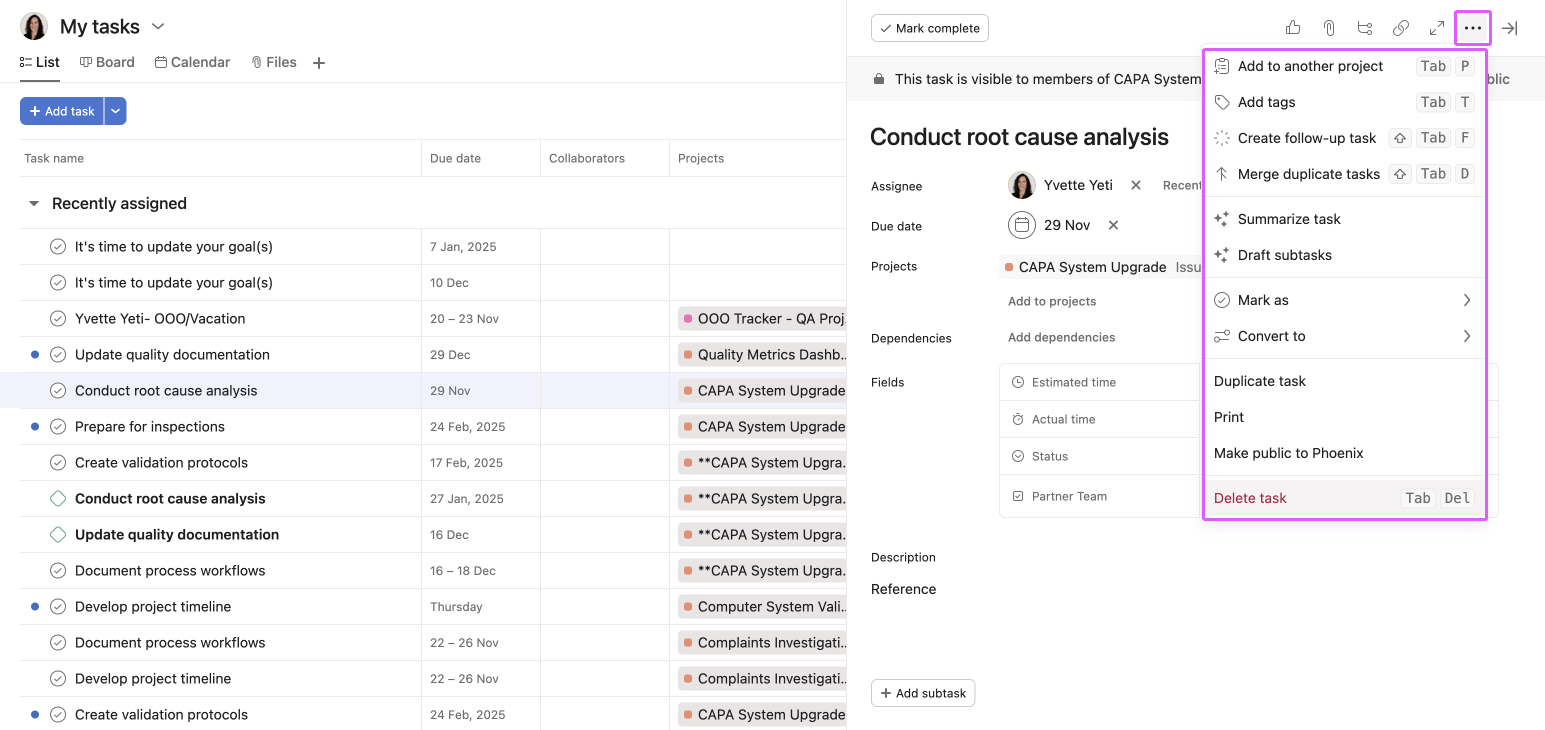
Click the three dot icon in the task details pane and select from the task action menu.
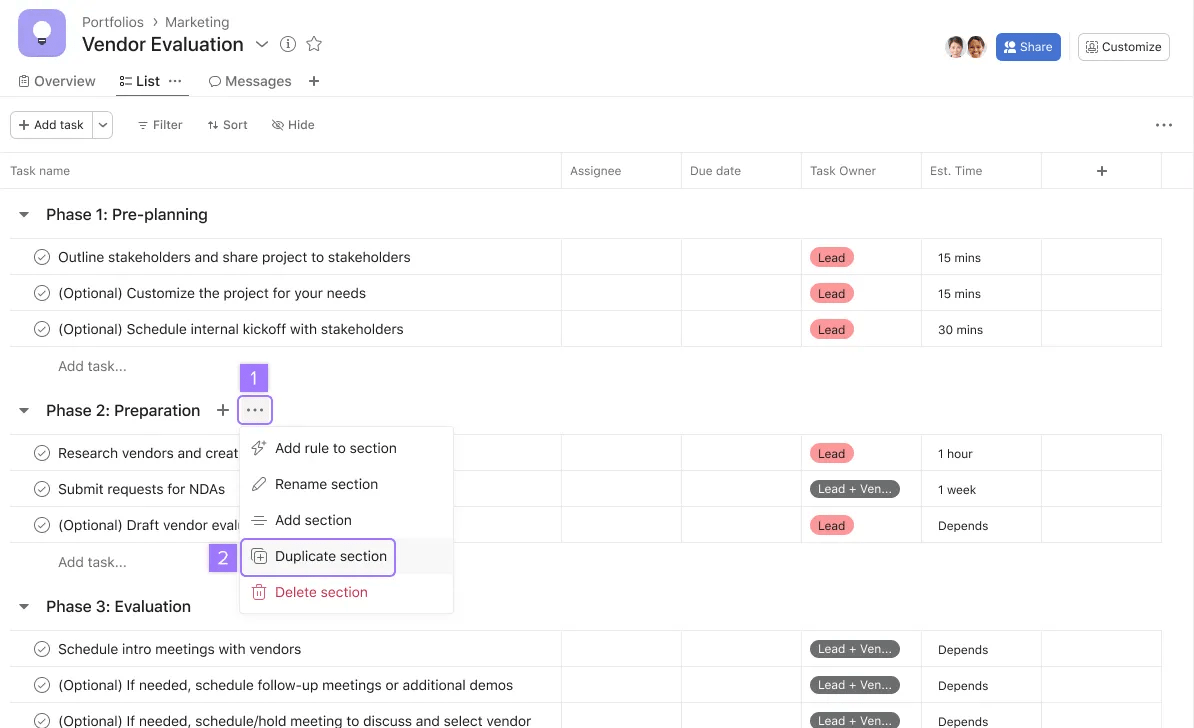
The new section will appear under the original section.
If you’d like to set new due dates for the duplicate tasks, check the Set new due dates for duplicated tasks box under the Advanced options.
Setting new relative due dates in bulk for duplicated tasks is available to Starter, Advanced, Enterprise and Enterprise+ tiers.
If you’d like to set new due dates in bulk for the duplicate tasks, check the Set new due dates for duplicated tasks box under the Advanced options.
You can check the Shift task due dates box and select a reference date. The reference date will be the first due date and the other due dates will follow. For example if your original tasks are due 1st, 8th, and 15th of January and you choose 1st of February as your new due date, the rest will be 8th and 15th of February.
If a task closely resembles another, you can merge the two in the task details pane.
To merge a duplicate task:
You will be navigated to the other task (its project will load in the main pane) and you'll see an undo option at the top of the main pane.
The tags, collaborators, and likes of the duplicate task will be added to the master task. The duplicate task will be marked complete and you will see the word [Duplicate] affixed to its name.
We will notify the following people about the merge via email (if they have email notifications turned on) or via inbox:
Attachments from the duplicate task will not be added to the master task.
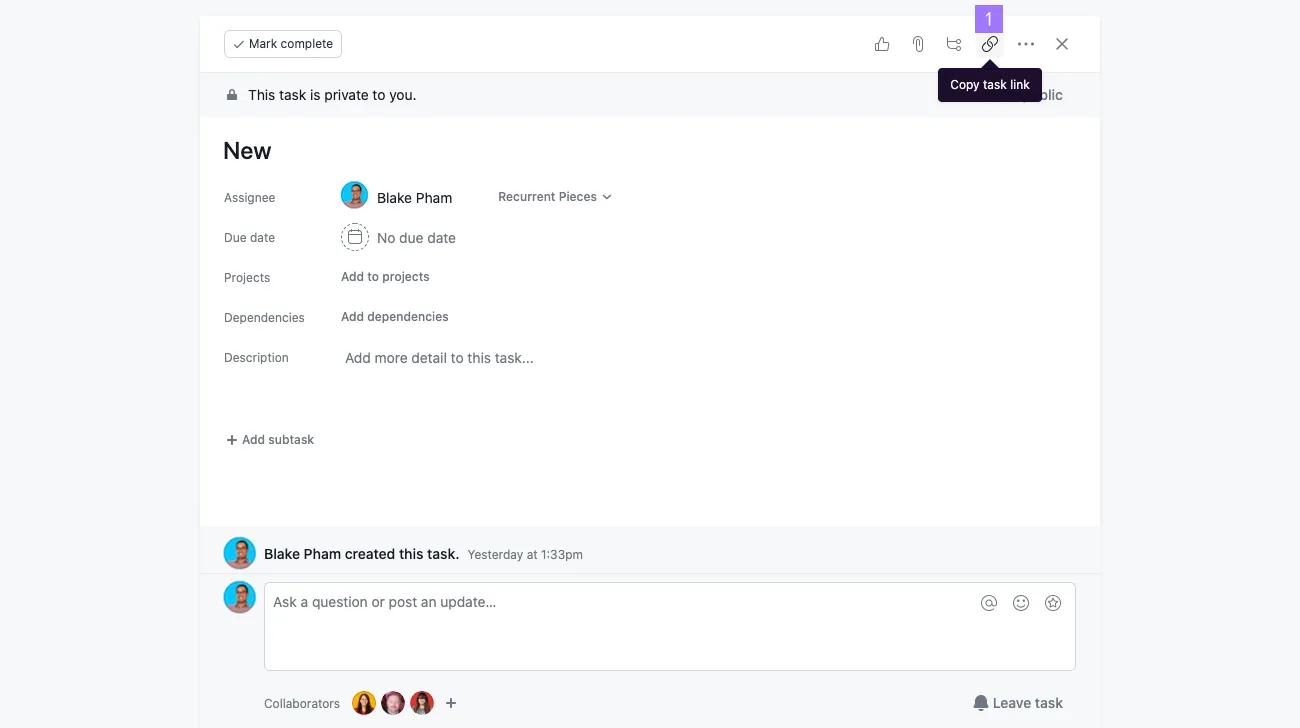
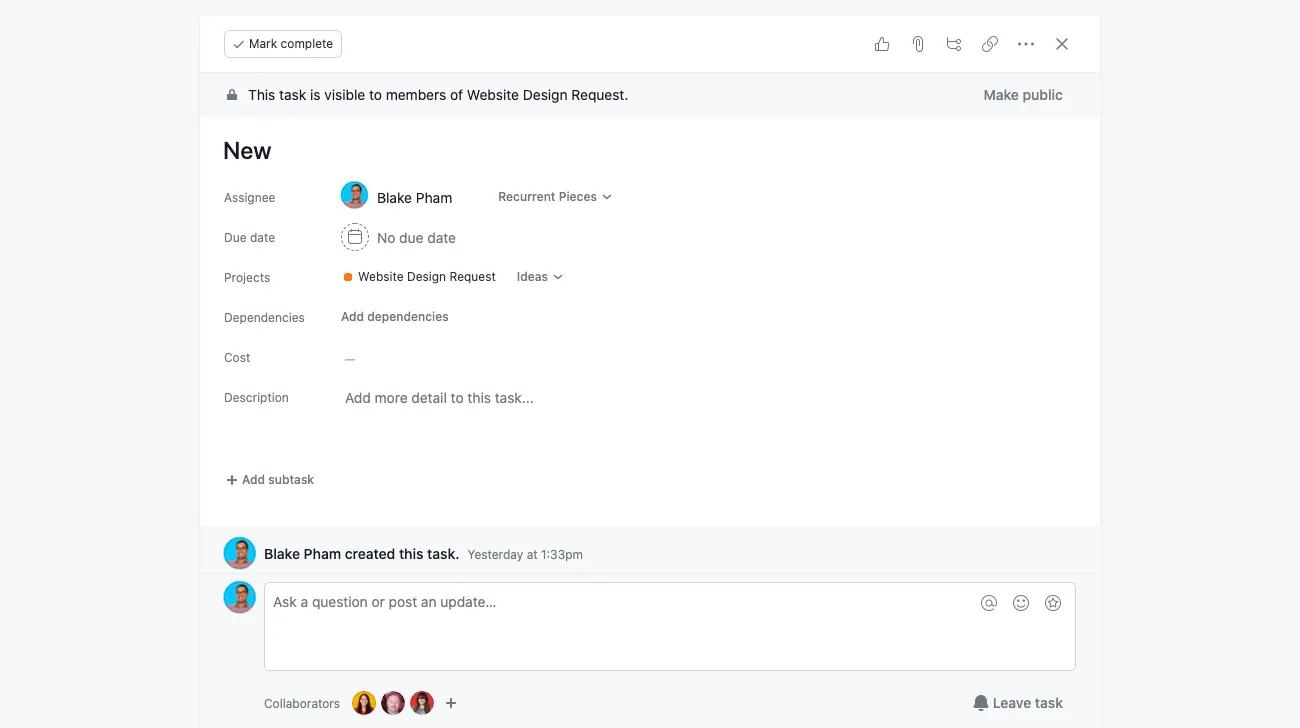
Copy the task URL to easily share it with your colleagues.
Enter full screen mode if you'd like to focus on a single task or if presenting in a meeting.

You can also use the keyboard shortcut
Tab + Xto enter full screen mode
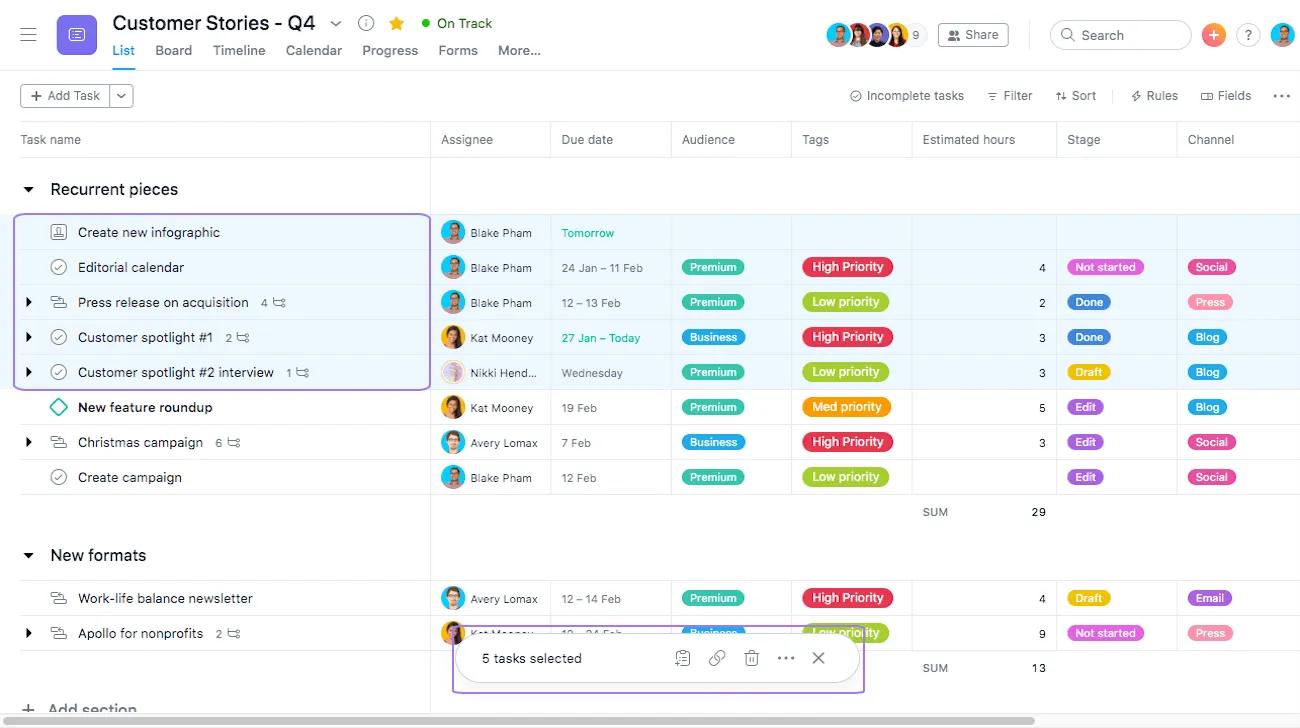
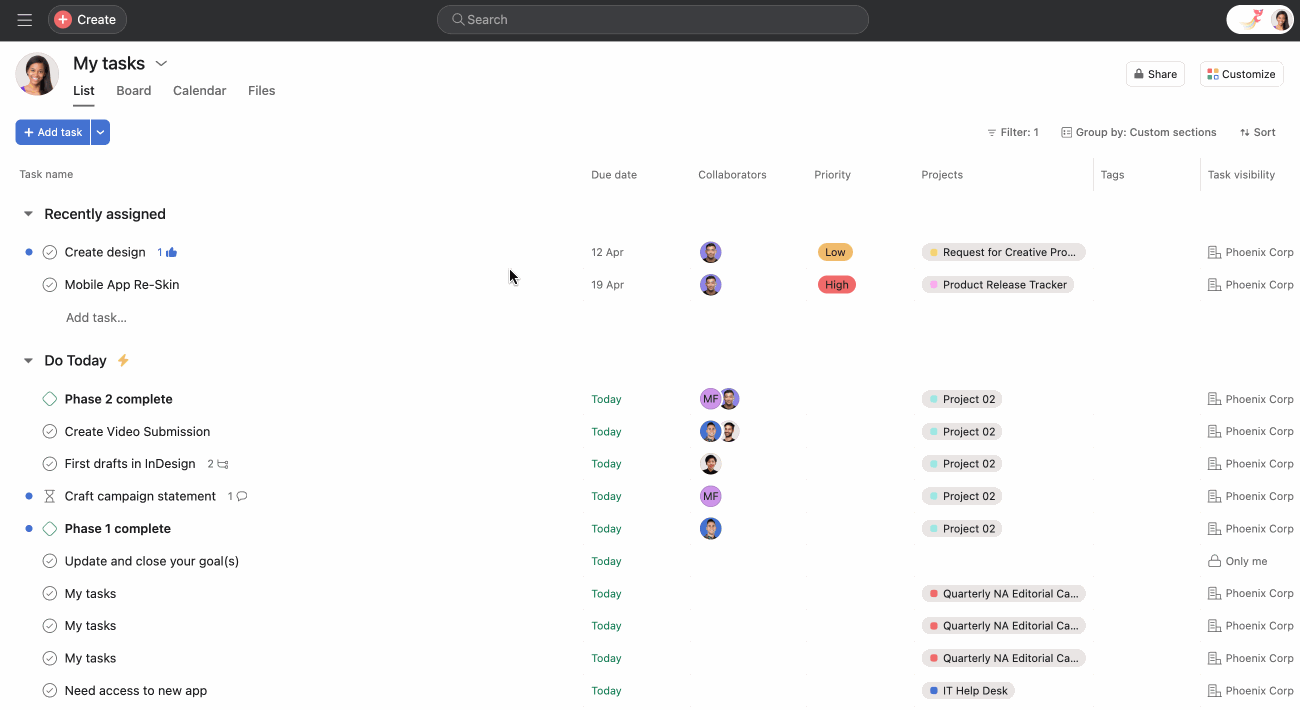
Multi-select is an easy and efficient way to take action on multiple tasks at once.
To select multiple tasks from a list view in the main pane, use any of the following methods:
Shift key on your keyboardShift key on your keyboardCTRL or ⌘ key on your keyboard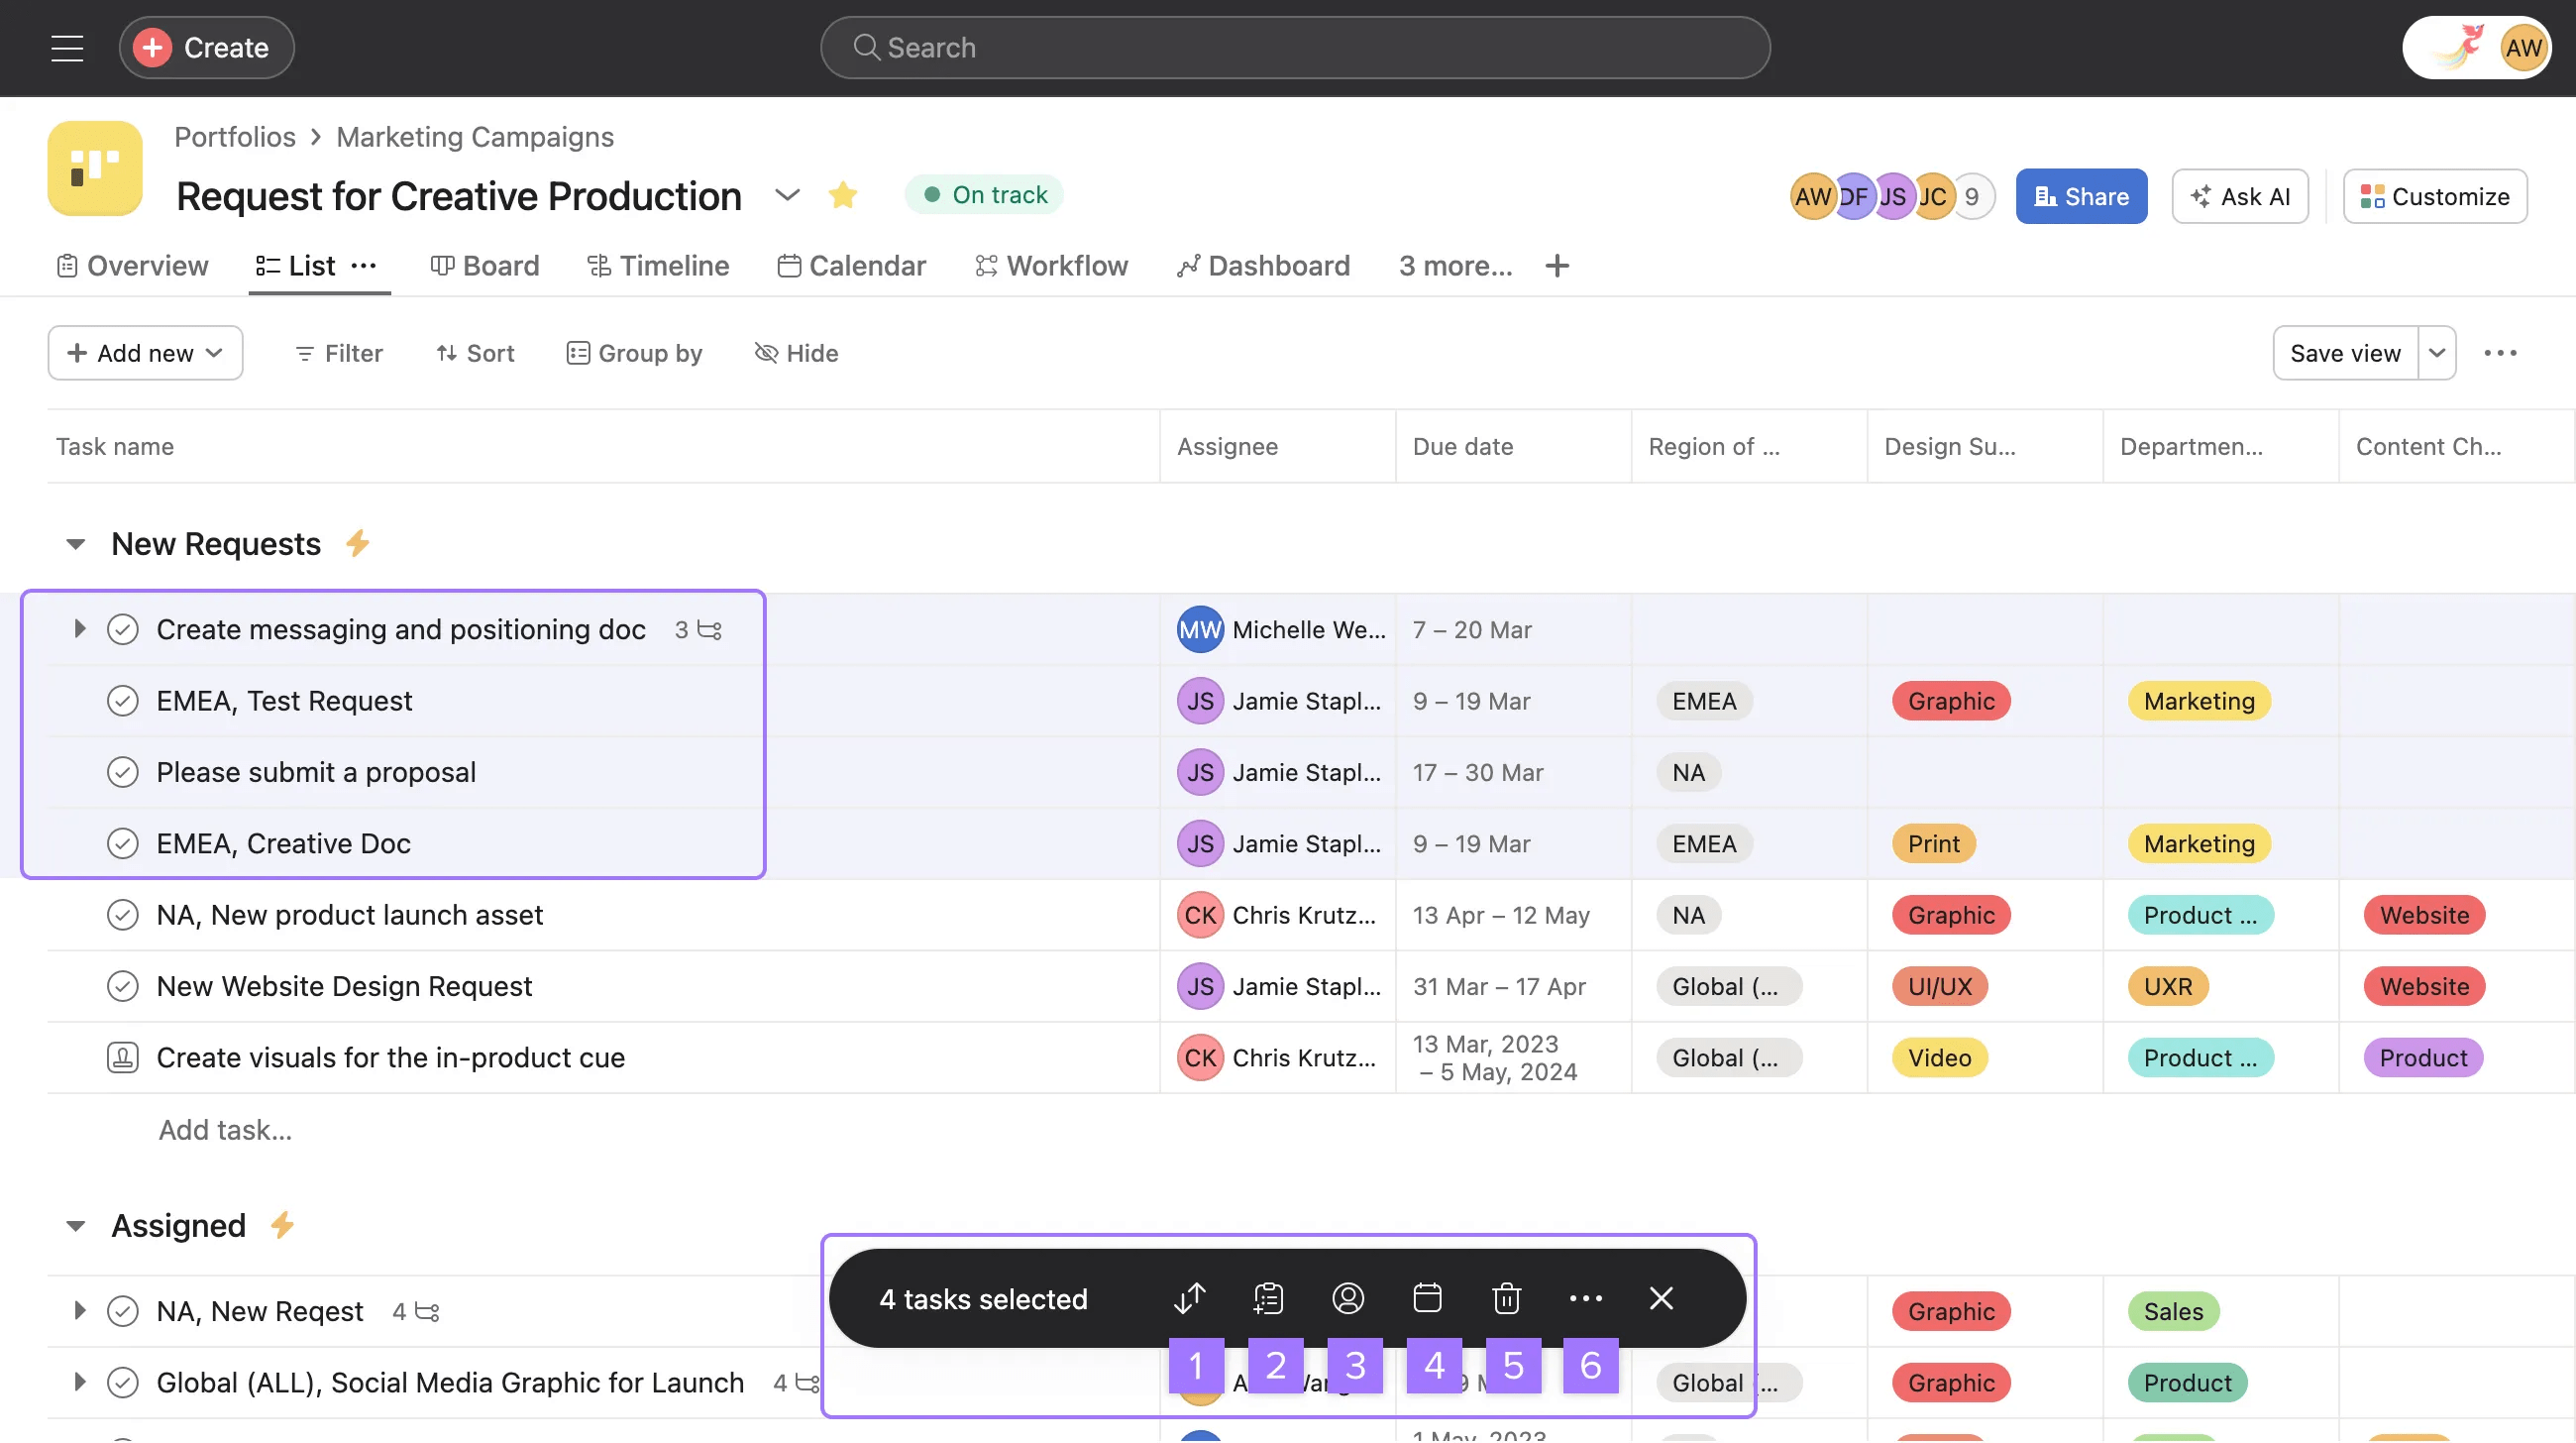
Once tasks are multi-selected, you can mass change the assignee, due date or custom fields.
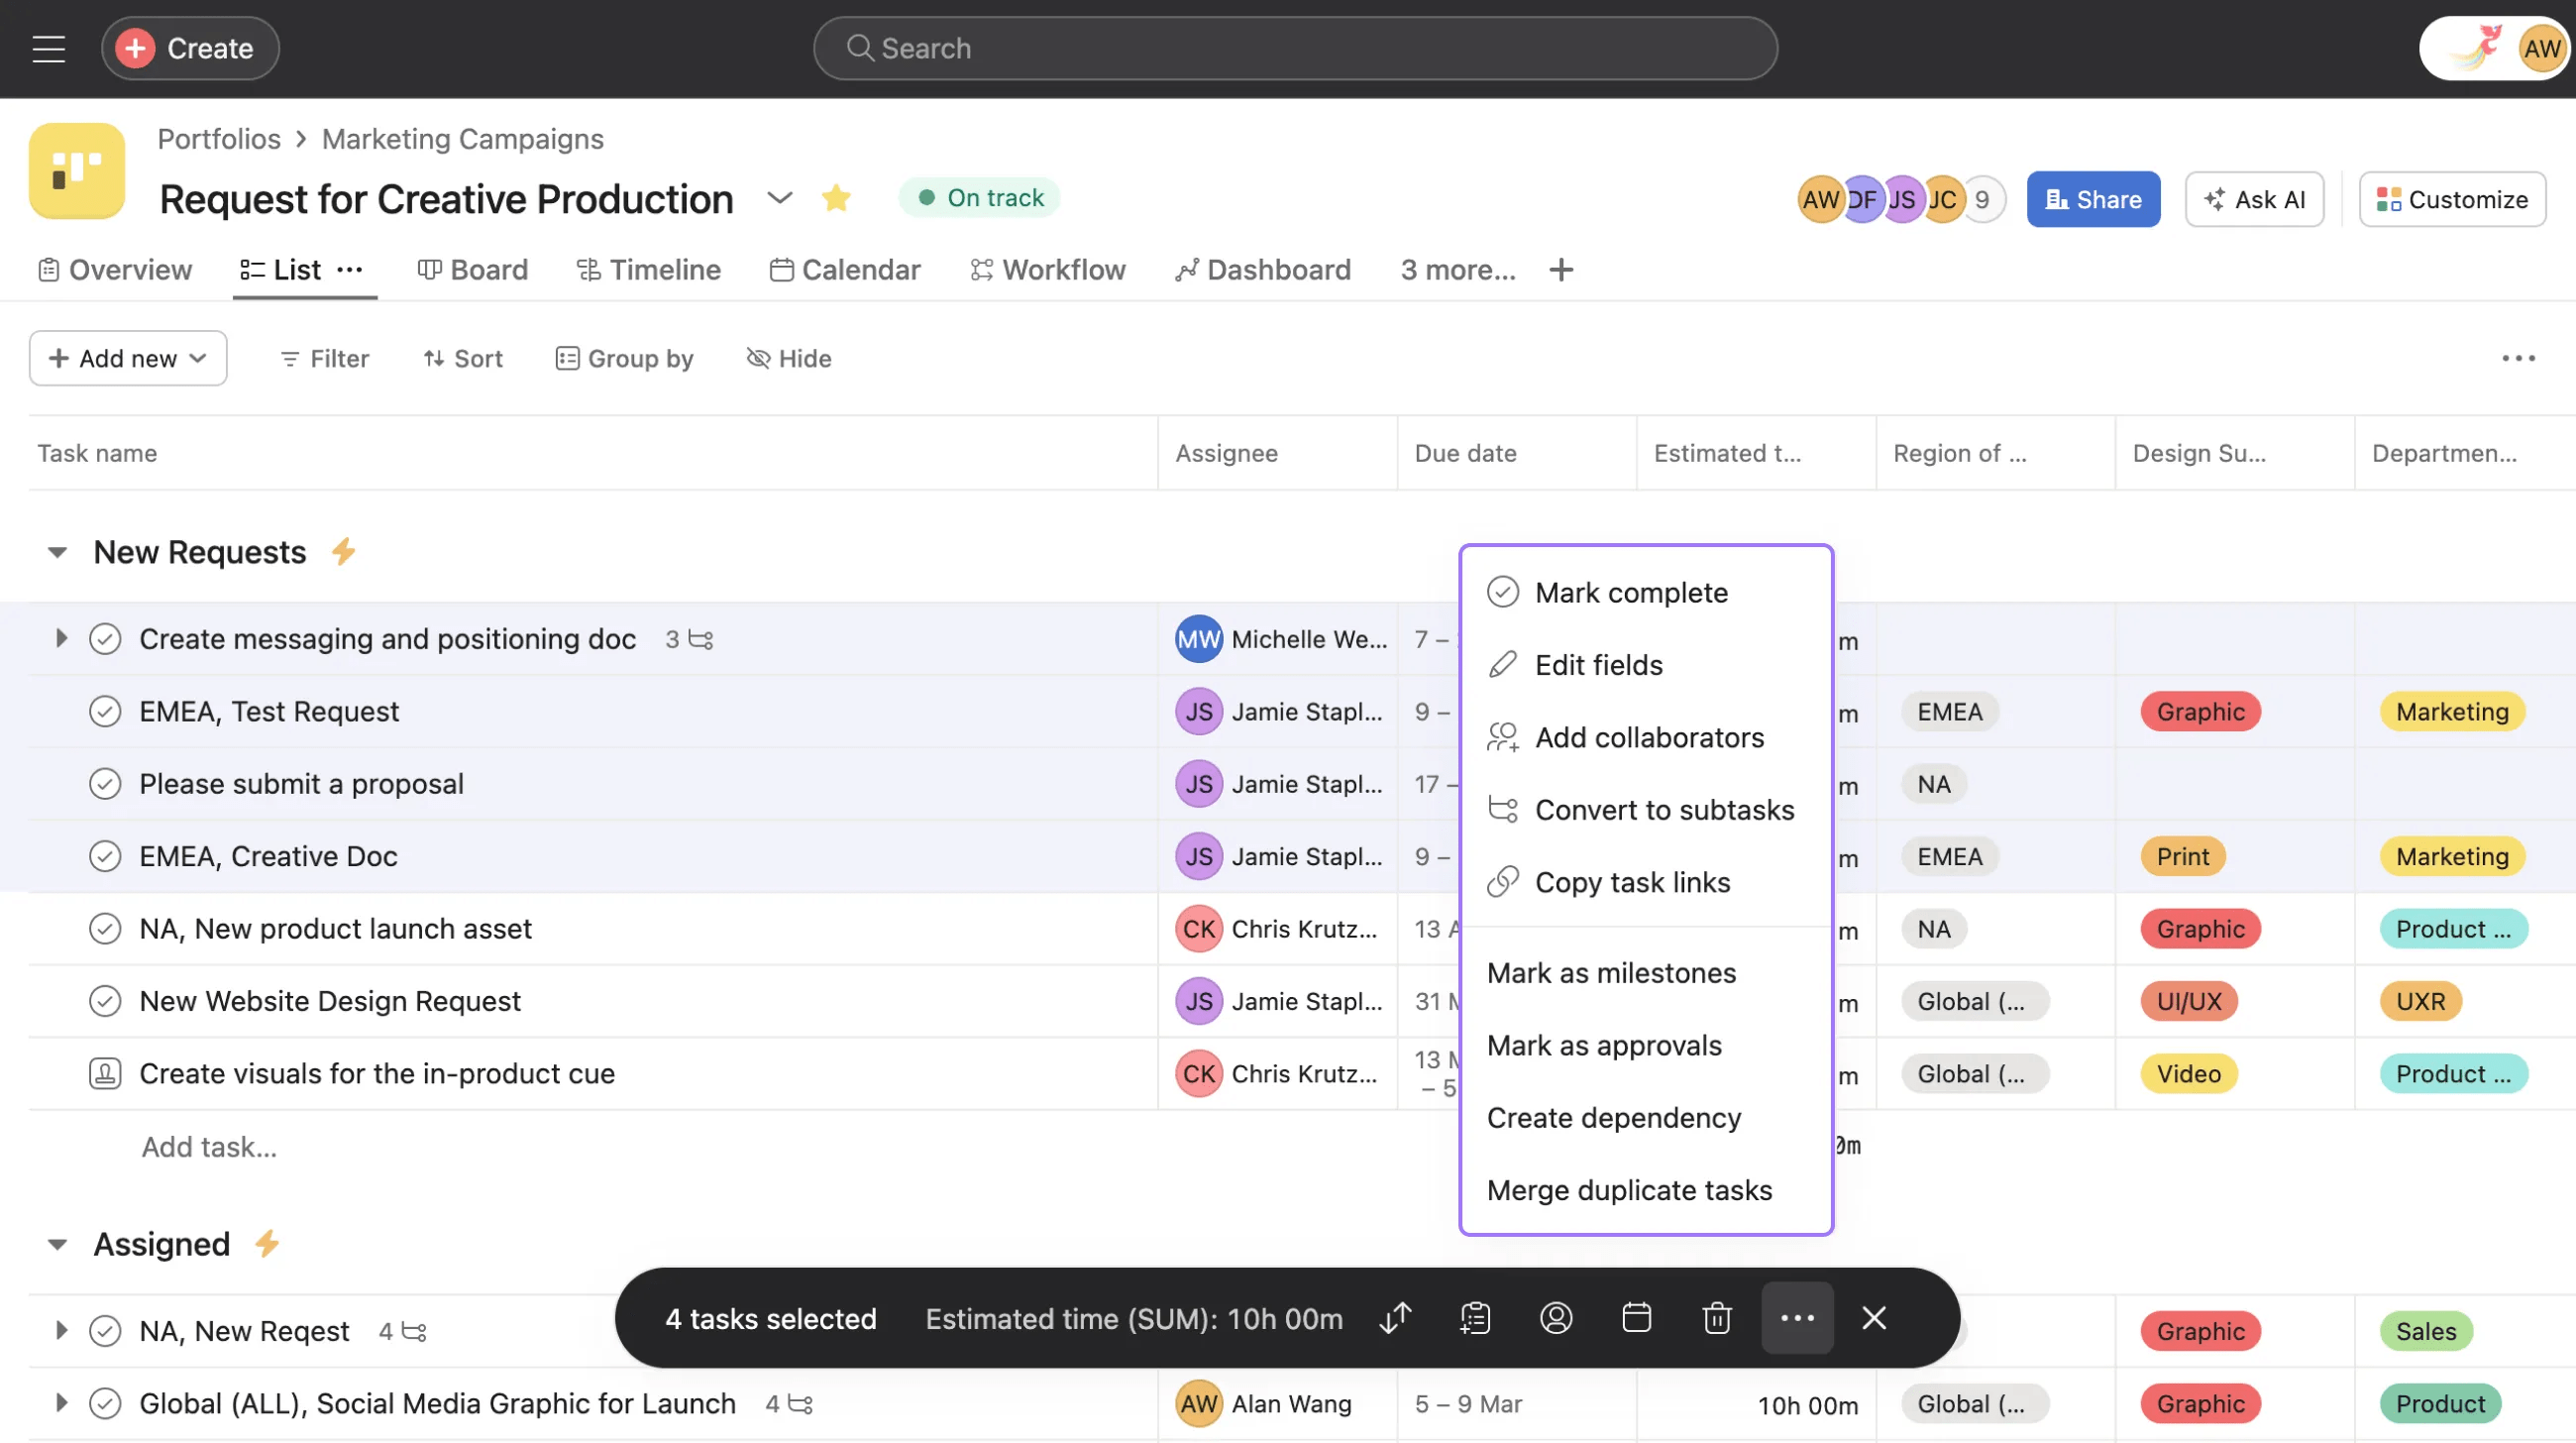
Remember you can use keyboard shortcuts to take most of the actions listed above.
You can also drag and drop your selected tasks in the main pane to move them to another section of your project.
Want to learn more? Check out all the features of Asana tasks.
Wondering about task actions? Ask the Community.