Products
AI Platform
Asana Foundations
Company Type
In This Article
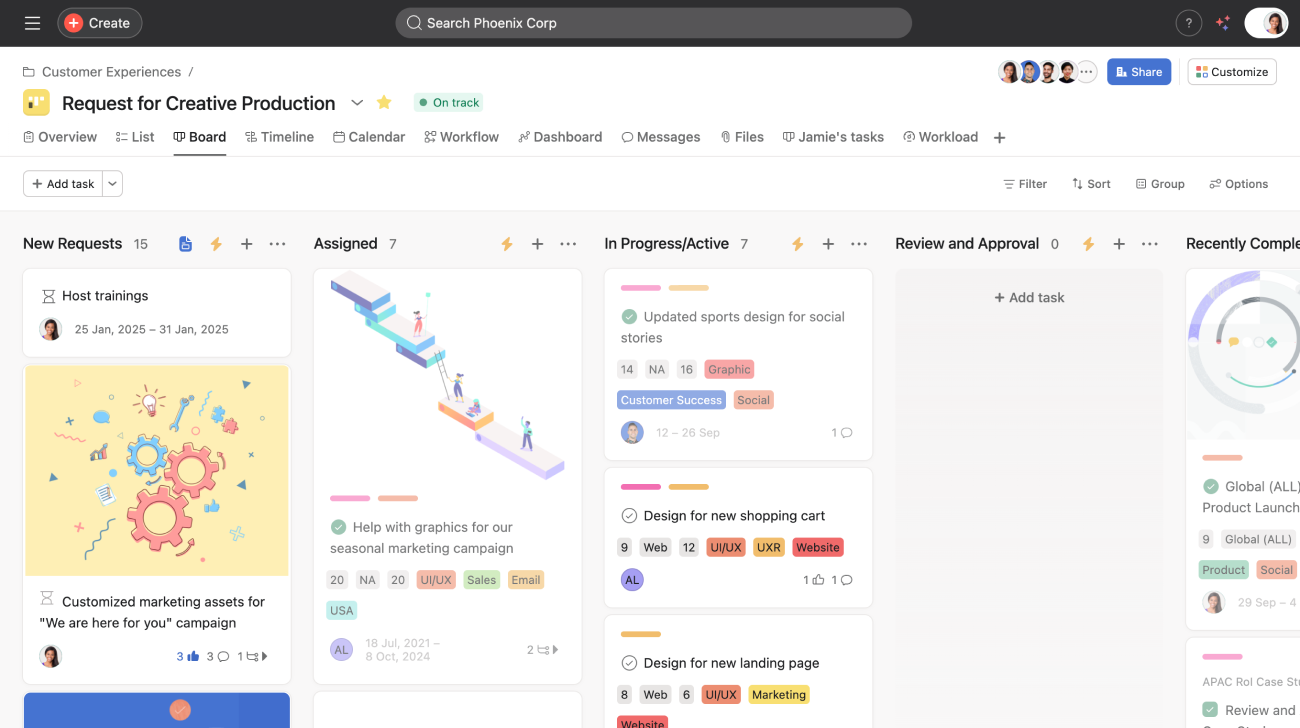
Boards let you organize your work like sticky notes that you can move across sections. They give you a clean, visual overview with the same power as a project in list view. Add items to your board, then drag and drop to move work around or track it through multiple stages. Tasks can be grouped differently across list and board views.
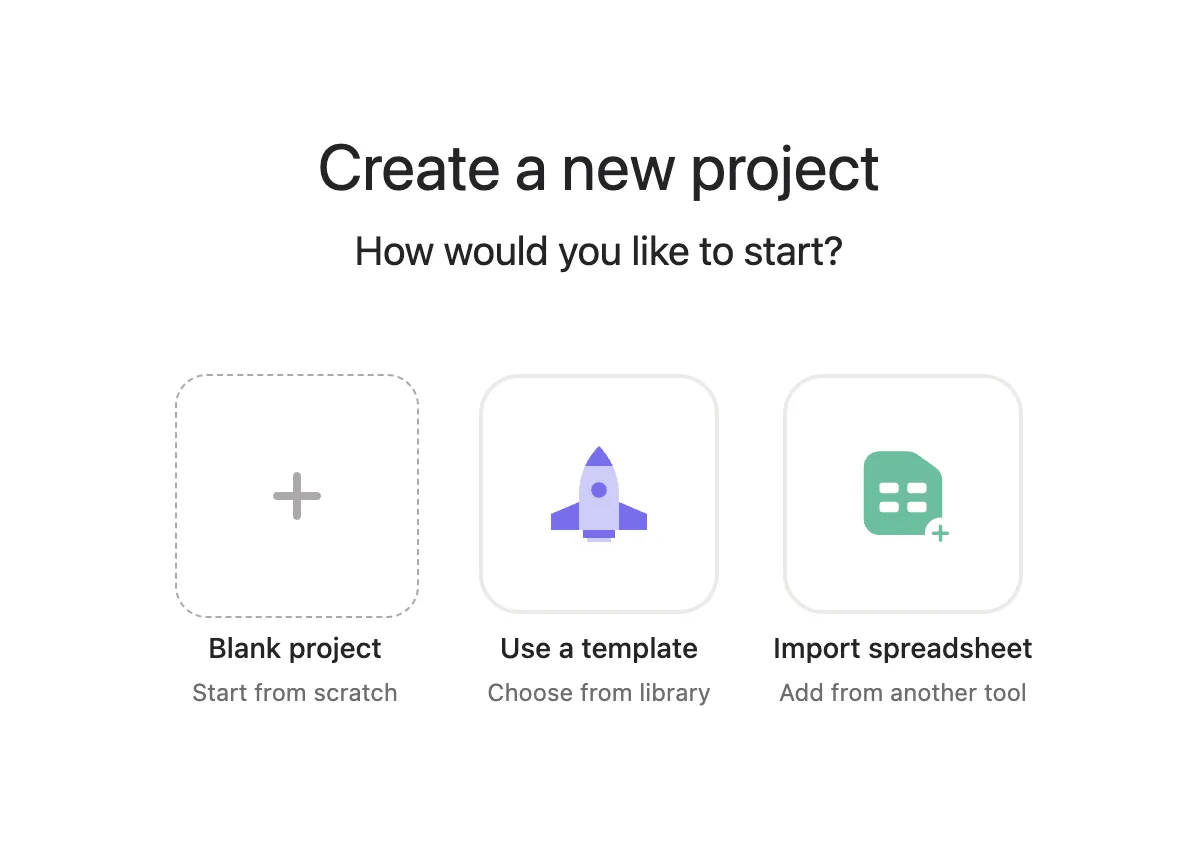
Create a new project by clicking the Quick Add button in your top bar. Select Project from the drop-down menu. Click +Blank Project.
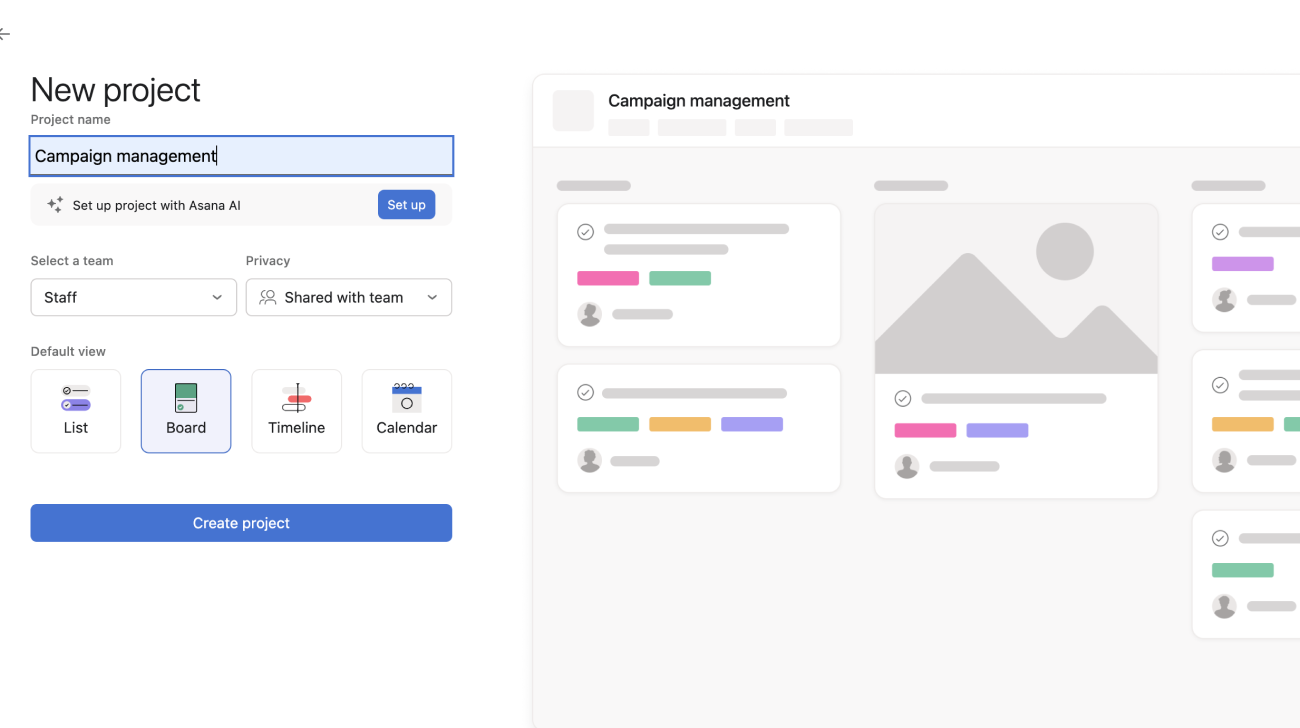
A pop up window will next give you the option to add your project details. Here you can choose Board as your project layout and default view. Then, click Create project.
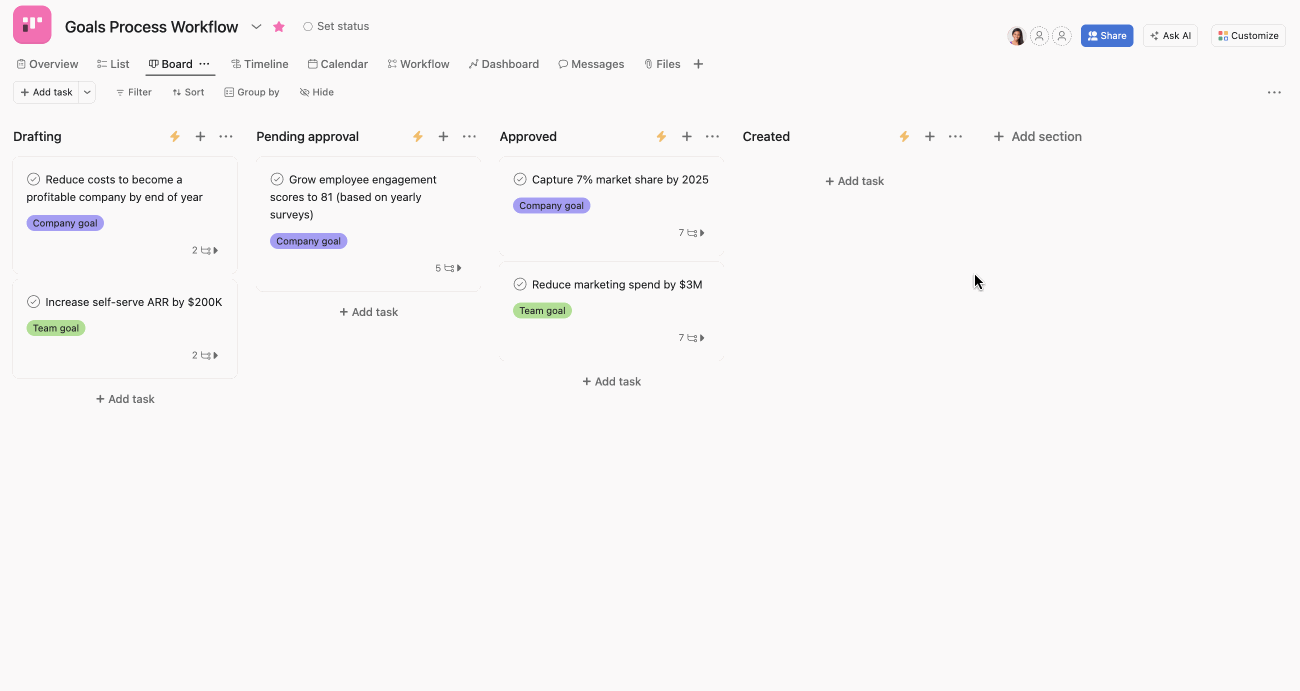
Click + Add section or the section placeholder. A new section will appear as soon as you name it in the header field. You can also drag and drop a task to the section placeholder to create a new section.
Use sections as categories to group related work or as stages like "Ready," "In Progress," and "Done" to track a specific workflow.
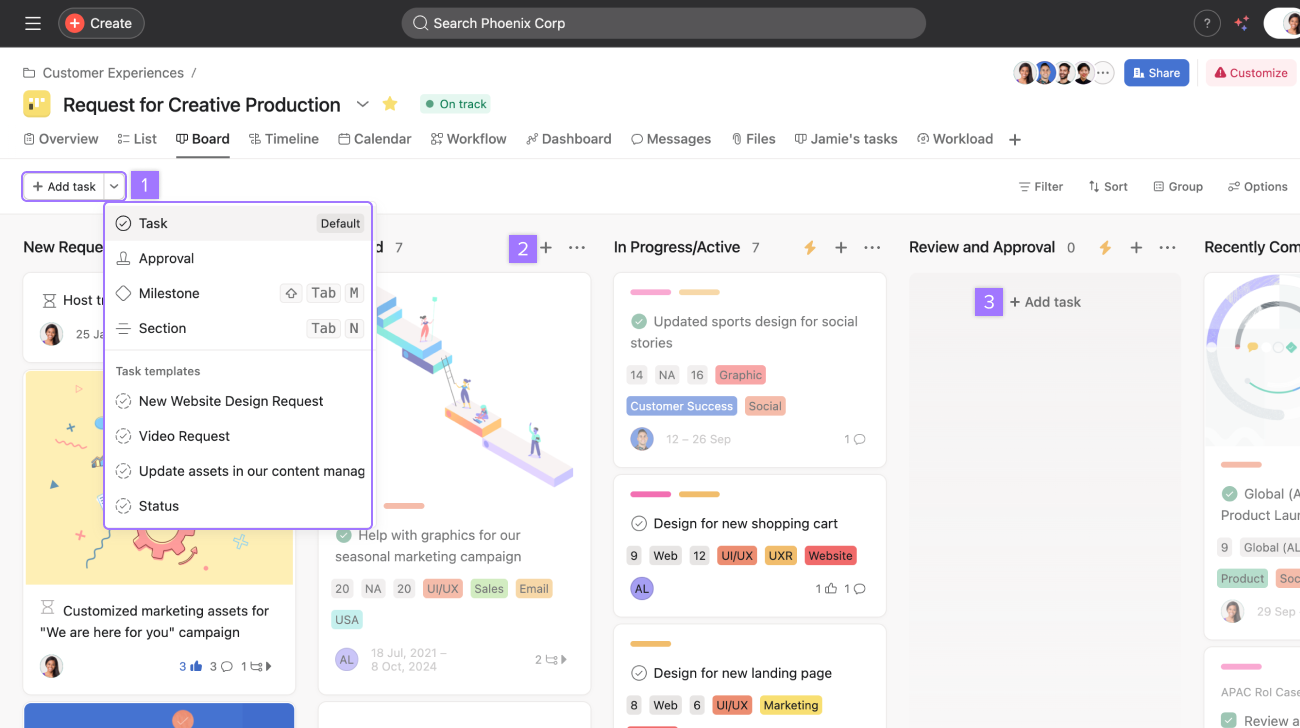
To add tasks to your board view, you can:
1. Click the +Add task button and select the type of task you want to add
2. Click the + button next to the section name
3. Click +Add task at the bottom of the section
You can add a cover image to your task by right clicking on the the task. From there, choose Add cover image and select where you’d like to upload the image from.
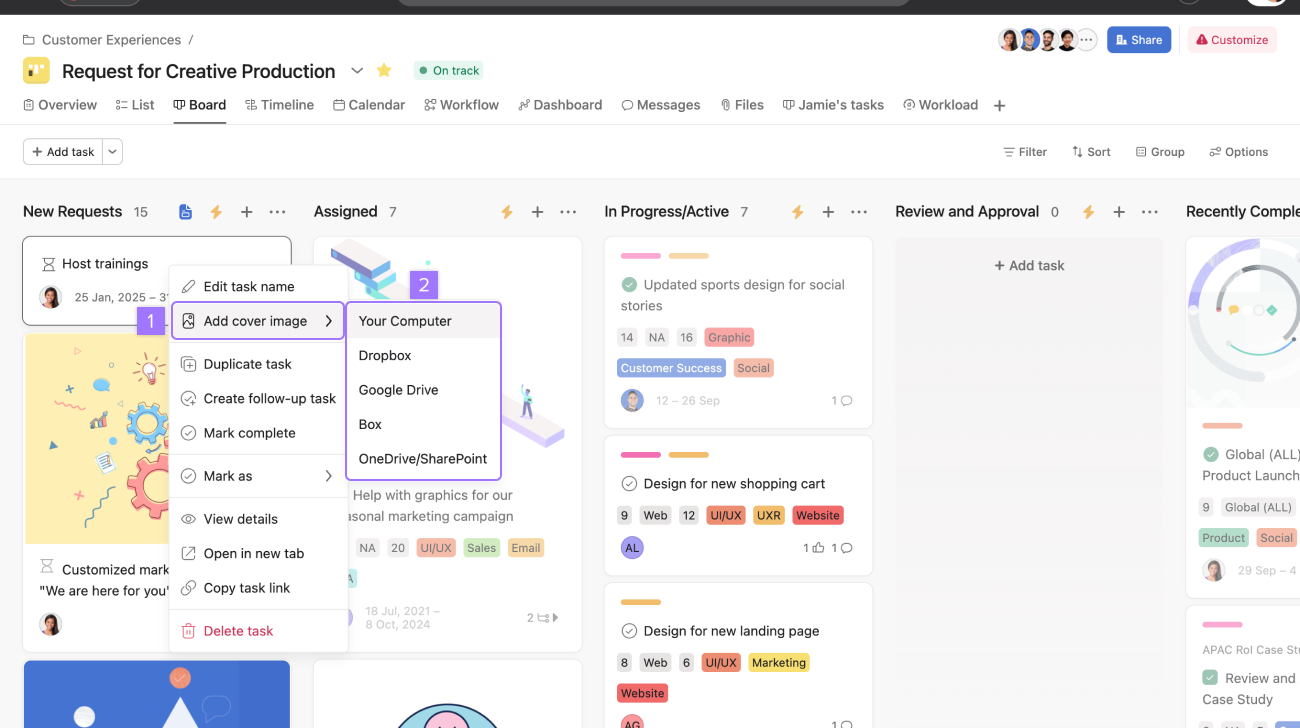
After uploading your image, you can show the most recent image, show no image, or add a new cover image.
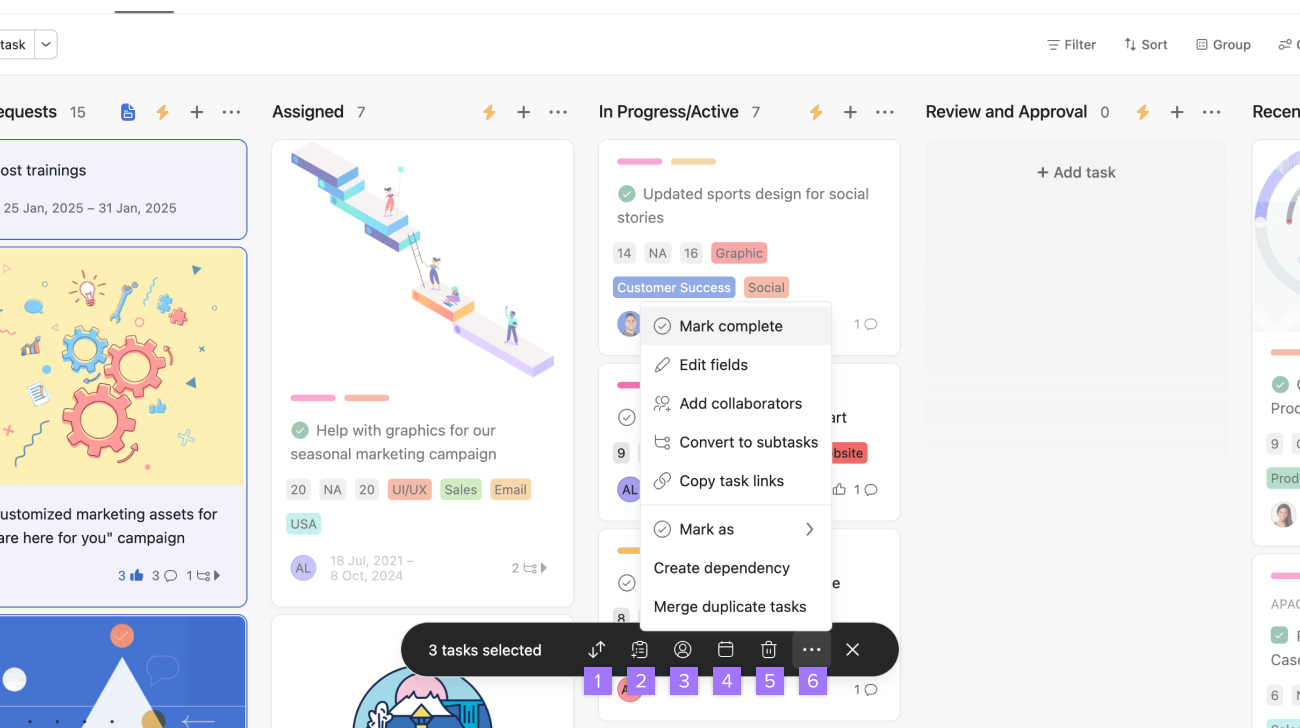
You can perform bulk actions on tasks by holding down the command key on your device and selecting the desired tasks.
Once you’ve selected the tasks, a toolbar will appear.
You can drag and drop tasks and sections to reorganize your work or move it through stages. Project members can rearrange tasks as needed, and collaborators will get updates when tasks move sections, so all members stay on the same page.
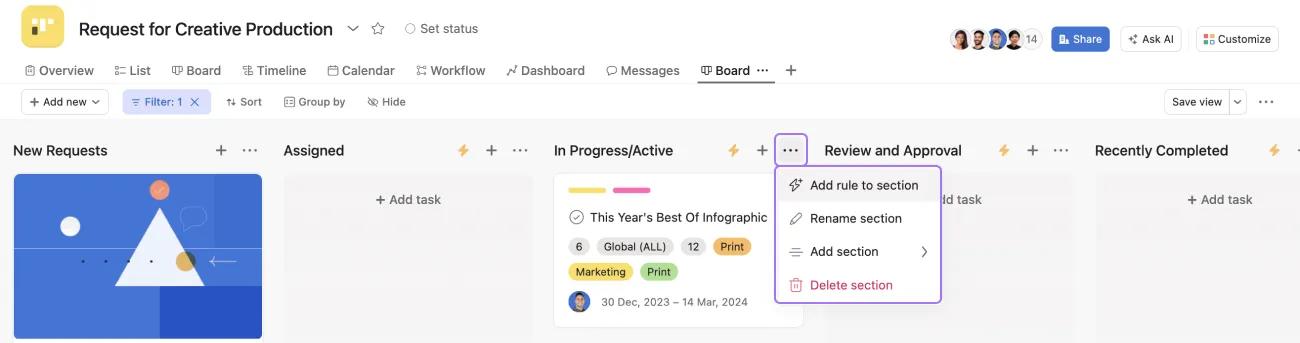
Sections need to be empty to delete them. Move tasks to other sections or delete them in order to clear a section.
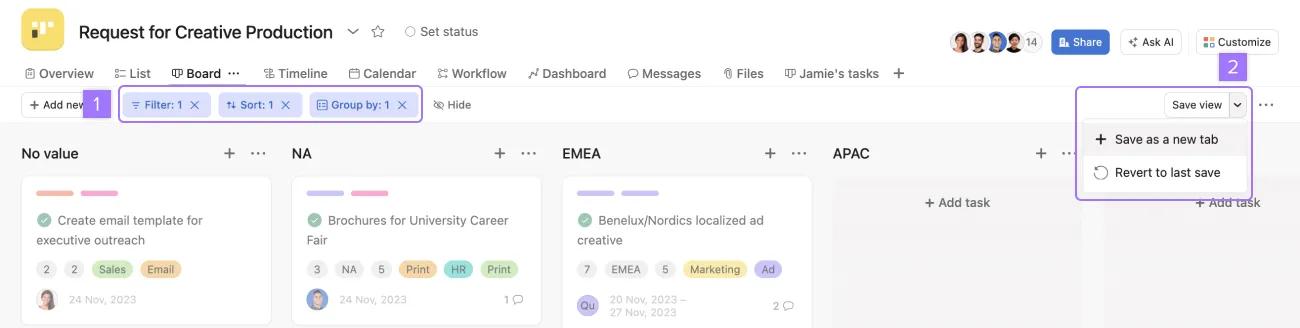
Clicking Save view will save this project view for everyone you're collaborating with. Read more about saved views.
When grouping tasks, you can add a subgroup, allowing you to organize tasks into rows based on sections, assignees, or custom fields. This enables teams to visualize work across multiple dimensions, making it easier to track progress, manage workload, and identify bottlenecks in complex workflows.
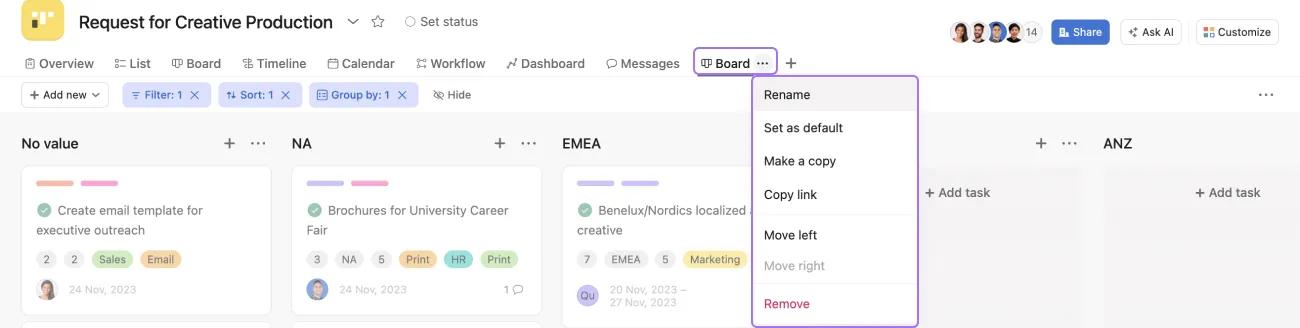
To save Board as your default view, right click the Board tab and click Set as default.
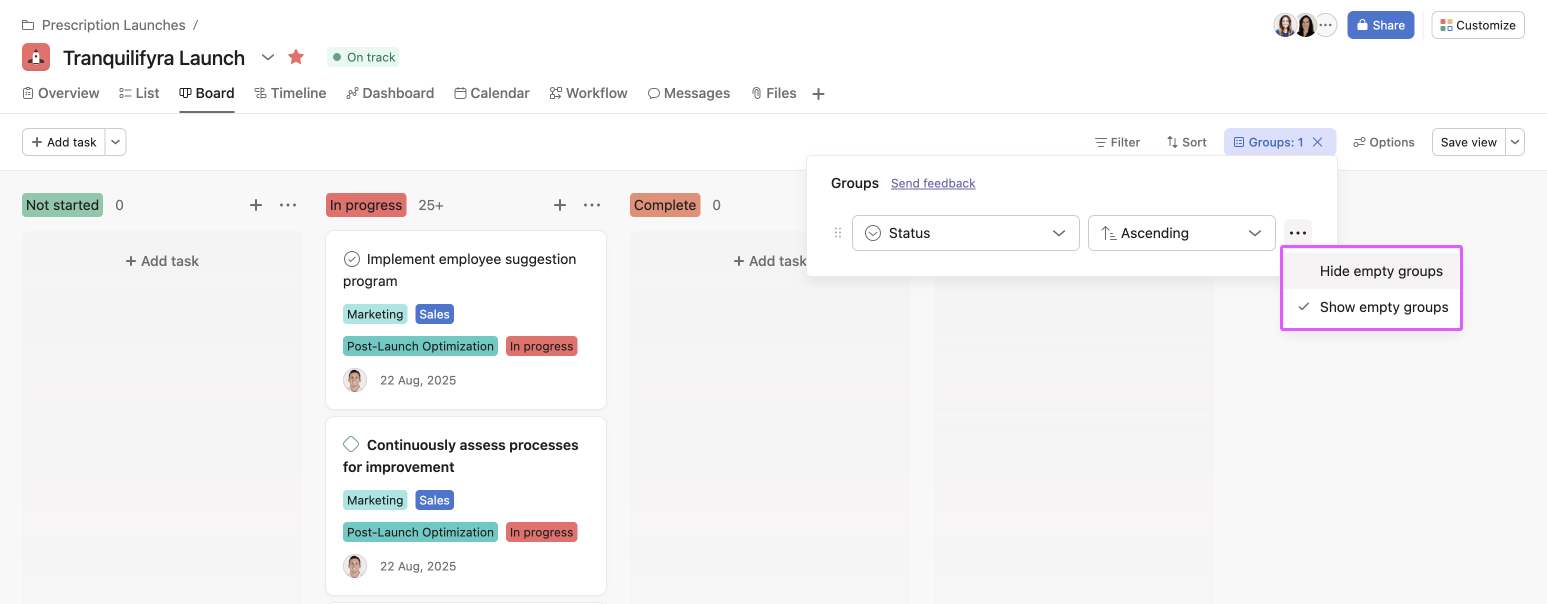
When grouping tasks by certain attributes, some groups may appear empty. For a more focused view, you can choose to hide empty groups.
In the below example, tasks are grouped by their status. There aren't any tasks in the project with status Not started or Complete, so their groups are empty.
Custom fields are the first step toward tracking all types of work in Asana. You can provide even more information on each task and track it in a way that suits your team’s needs.

Note
Custom fields are the best way to tag, sort, and filter work. See them in action with a free Asana trial. Try for free.
To add new fields or update field values directly from the board card:
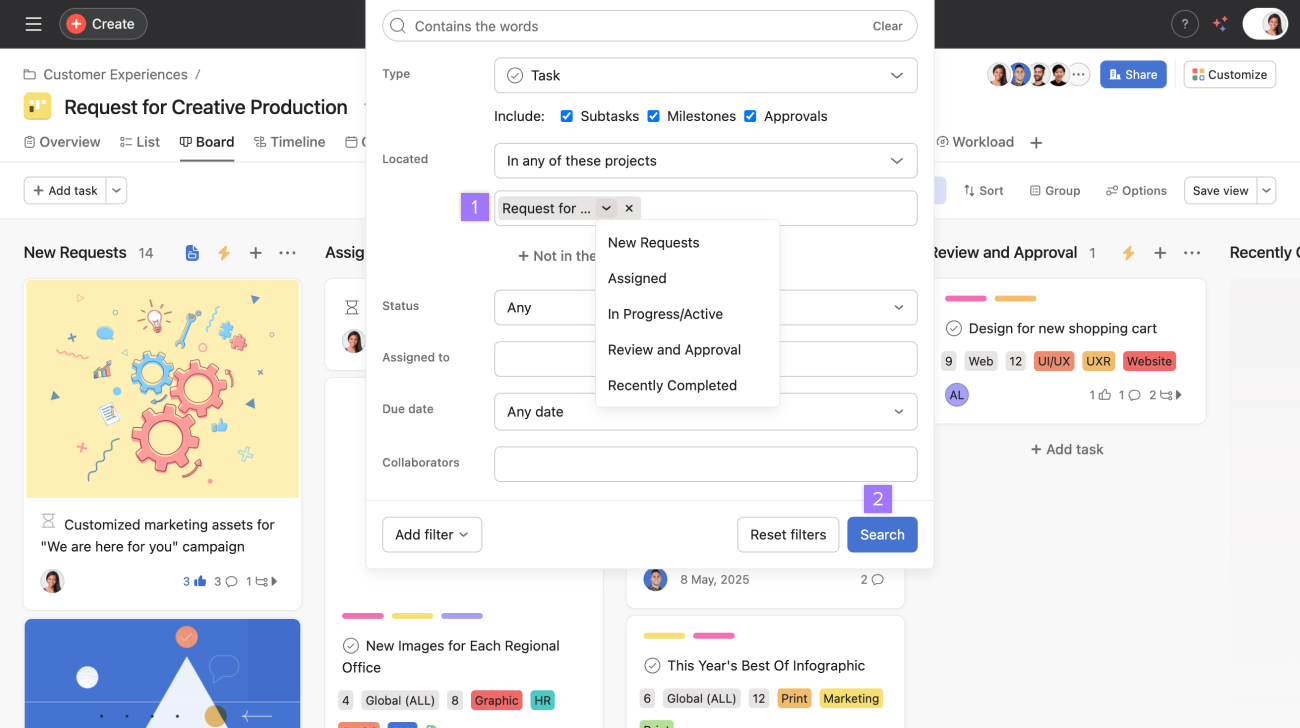
You can search for tasks in specific sections of board projects using the advanced search tool.
You can view the amount of subtasks on a particular task directly from your board project.
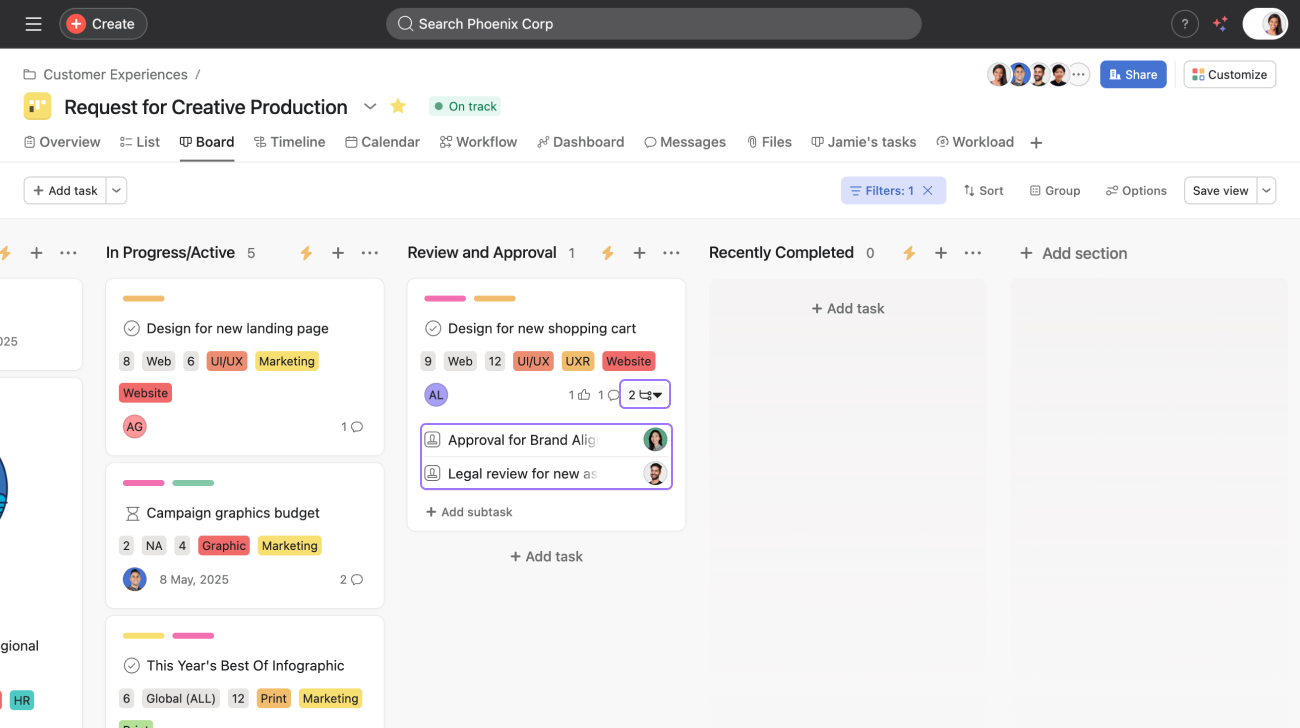
The subtask count will appear next to the task name on your board project.
Click on the arrow next to your subtasks from your board view to expand and view them.
From the Options button, you can access layout options.