Products
AI Platform
Asana Foundations
Company Type
Visit our pricing page for more information.
With Asana, you can manage and resolve your IT requests, avoiding duplicate requests and storing historical data in one place.
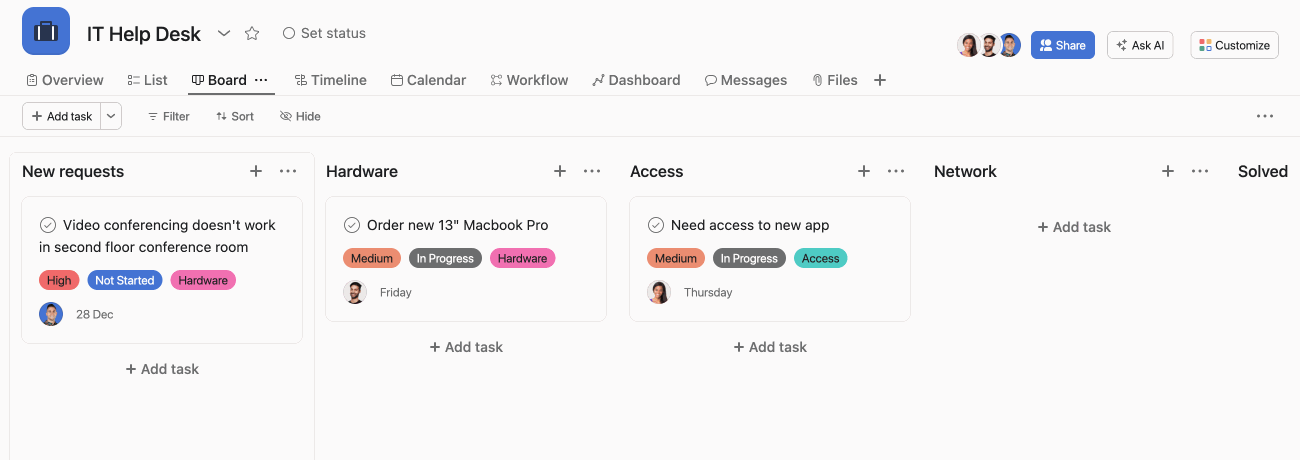
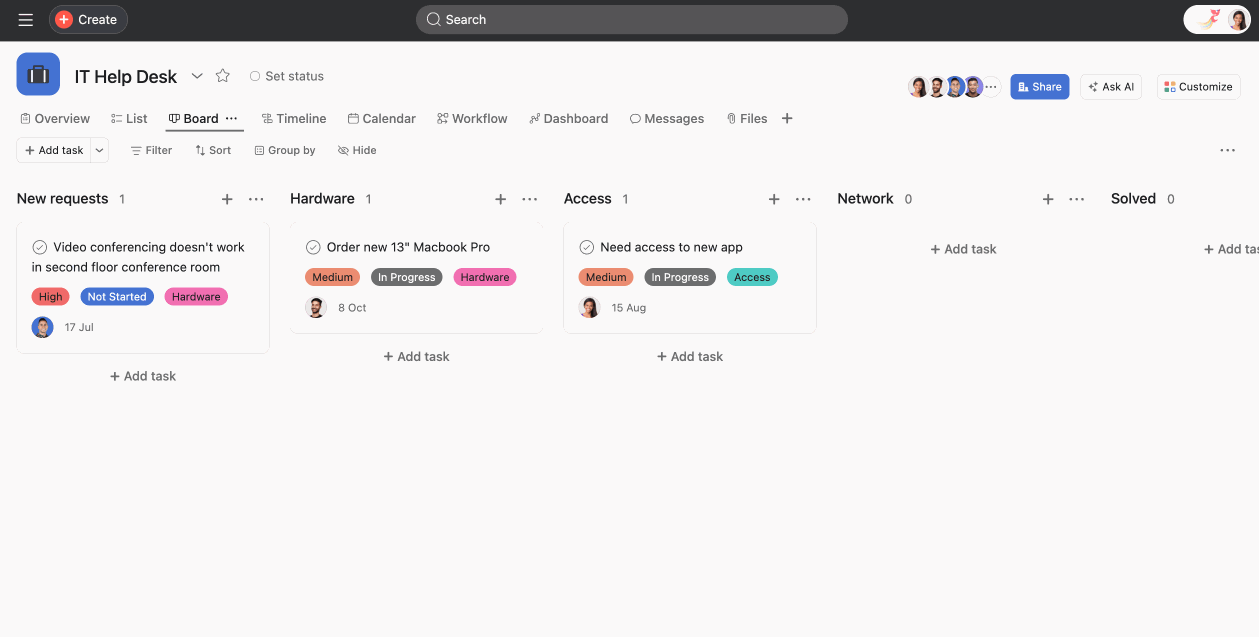
For your help desk project to work correctly, there are elements you must include. These elements are forms, custom fields, sections, and rules. This article will show you how to create a help desk project using these features.
Use forms as an intake source to ensure you capture all the necessary information from requesters.
Anyone can submit forms—even if they don’t use Asana—by sending them the form link. Once submitted, the form response becomes a new task in your project.
Custom fields will help you prioritize incoming requests and organize them into categories. Some examples of custom fields are:
If you add an Issue type field in your form, you can map it to the same custom field in your project. Then, when submitted, the new task will already specify whether the submitter is trying to troubleshoot a network problem or get new hardware.
Rules can help you save time and move work forward. You can create rules to trigger different actions, such as moving tasks through different project sections, assigning tasks, adding comments, or adding new custom fields.
Start by creating a project. We recommend using a board view as this will help you quickly see how all tasks move through the different sections of the project.
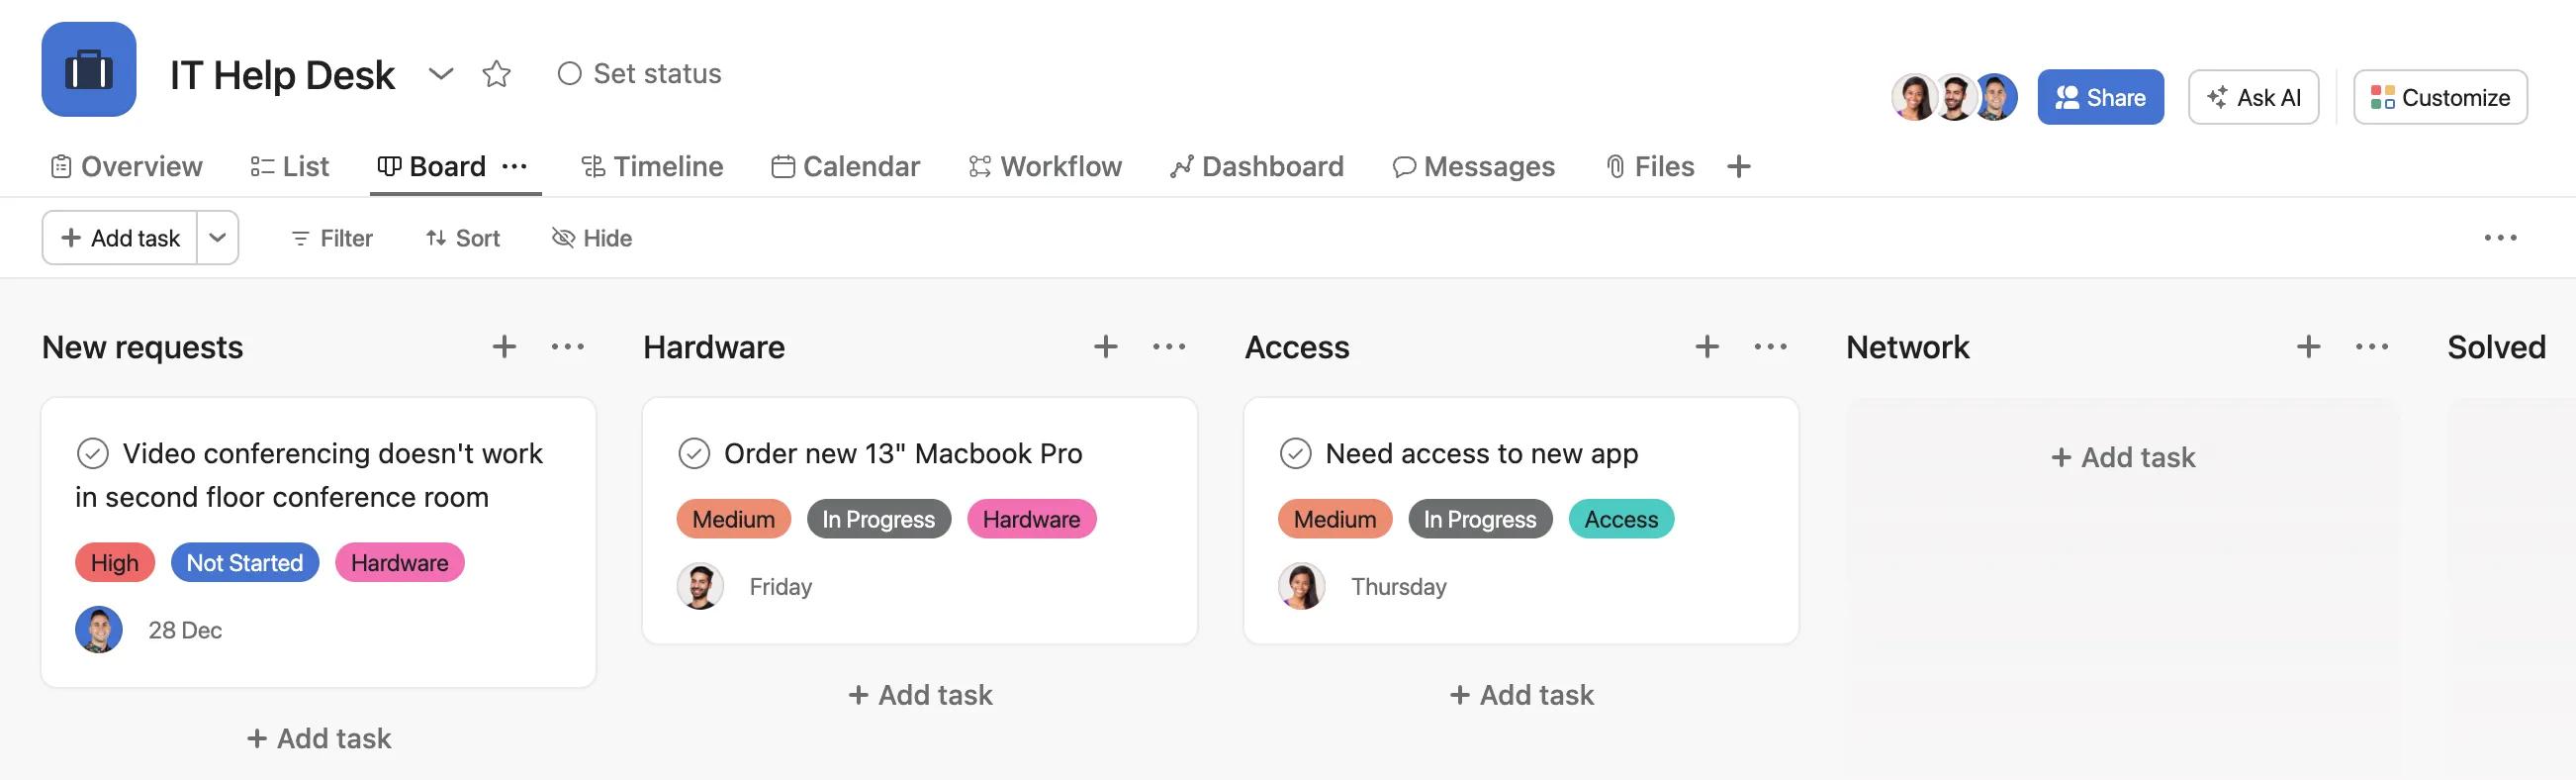
Each section can be either an issue type, a stage the task needs to go through, the progress of the request, or anything else that makes sense for your workflow. In the example above, we’ve used sections to show issue types.
To add a section, click the drop-down next to the + Add task button and select Add section, or click the three dot icon and select Add section.

Add custom fields to categorize your requests. For example, you can add priority and task progress fields. You can add custom fields from the customize menu.
Add rules to trigger specific actions. Custom fields power rules; for example, requests can be assigned to a specific person depending on the issue type.
You can add rules to a particular section by clicking the three dot icon next to the section’s name or any other rules from the customize menu. Learn more about rules here.
Create an intake form people can use to submit requests.
To create a form, navigate to the Customize menu, click Forms, and click Add form. Learn how to connect your custom fields to your form’s questions here.
If you get requests via chat or email, you can always send the requester the link to your form, but you can also use integrations to action the conversation quickly. You can add them to Asana right from your inbox or message to assign them as a task, add them to your help desk project, and more.
For email, use the Asana for Gmail or Outlook add-ons. For chat, try the Asana for Slack integration.
It’s expected that an IT request feeds into more extensive IT work and initiatives. Instead of making two separate tasks, you can store one task in multiple projects to track the work in both projects. Work won’t get duplicated; you just see the correct information in the proper context.
For example, your IT team might have a private to team only project tracking loaner computers. If a new request to borrow a computer comes in, you can store the task in both the IT requests and the loaner computer project, but keep the rest of the loaner project private to anyone not on the IT team.
To understand project progress and gauge team bandwidth, IT leads usually piece together information in meetings, emails, or spreadsheets, which can be time-consuming and inaccurate. Instead, create a portfolio with all key IT-related projects as well as your IT helpdesk project to see real-time progress, deadlines, and priorities in one place.
Then, use the Workload tab to visualize your team’s capacity based on tasks assigned in Asana. Learn more about how to use workload here.