Products
AI Platform
Asana Foundations
Company Type
Visit our pricing page for more information.
This article guides you through creating a seamless product launch project in Asana, using templates, workflows, and bundles. Learn to manage timelines, update statuses, and balance workloads to ensure a successful launch every time.
There are a number of ways to get started. You can set up your product launch project by using our product launch template, importing an existing spreadsheet, or building out a project from scratch.
You can create your own reusable project template, so each launch begins with the right structure, fields, and automation.
Though each launch can be slightly different, there’s typically a core set of tasks that need to happen every time. Instead of losing time recreating your plan for each launch, or keeping a template in a doc that’s disconnected from work files and instructions, you can build and save your project template in Asana.
Add sections that match your lifecycle. For example, Discovery, Build, Beta, GA → Post-launch. You can add milestones for key moments like Beta start, Marketing freeze, and GA.
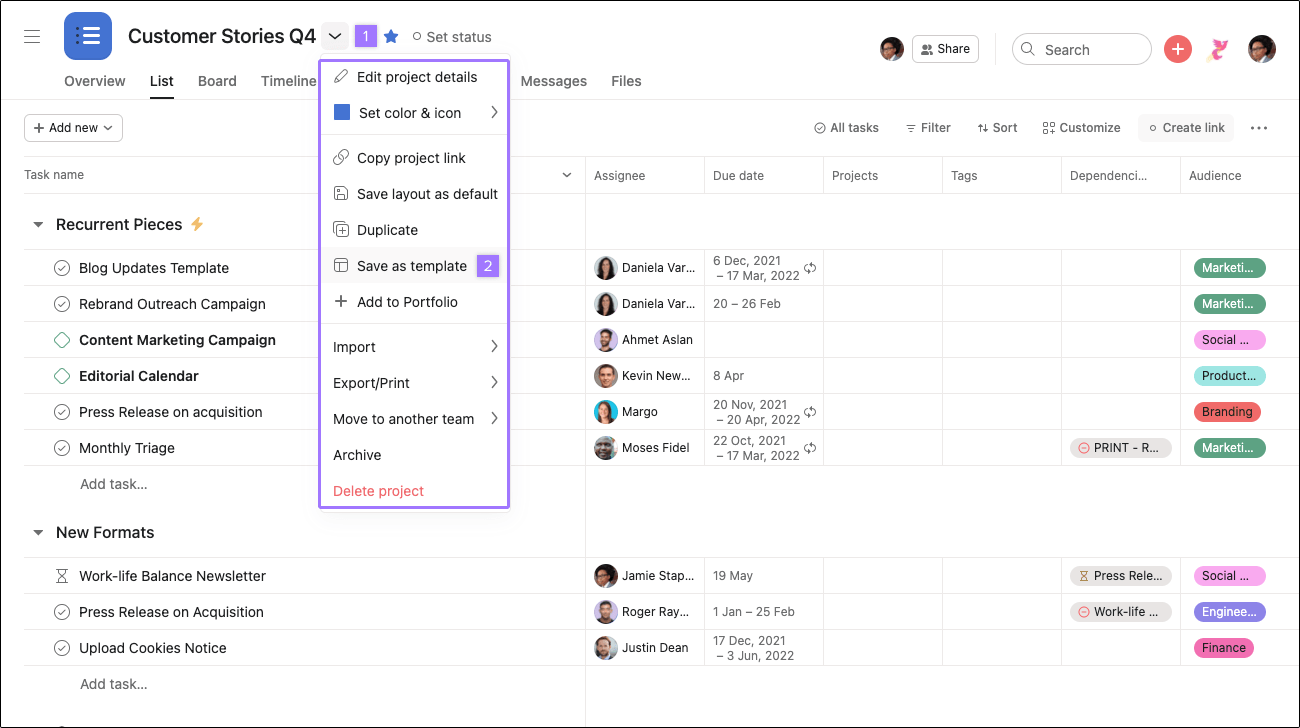
Once you have your project ready, click the drop-down arrow beside the project name and choose Save as template. For every new product launch, use your fine-tuned template to get started.
 \
\
Note
If you want to restrict who can modify the template, give others comment-only permissions
If you’re used to spreadsheets, you might sort and filter columns to make it easier to see key details. Custom fields are a much more powerful replacement, because they track this information in context with the work.
For example, if you add a priority, status, or team custom field to your launch project, you can prioritize each task so every teammate is clear on where they should focus their attention. Then you can sort your project by these custom fields or create saved views to see to see specific subsets of tasks based on the field values. This helps different members of the team quickly access the information most relevant to them.
Most product launches have lots of critical deadlines and cross-functional dependencies leading up to launch day. Timeline view helps you map these out in your plan before you start to ensure all the pieces fit together.
Once work is underway, timeline can also help you quickly address conflicts before they derail your plan. For example, if your launch messaging takes longer than expected to draft, you can shift dependent tasks in timeline. Task assignees get notified automatically that their deadlines have been adjusted. Now work can still start at the right time—without causing confusion, extra meetings, or a chaotic scramble when it’s too late.
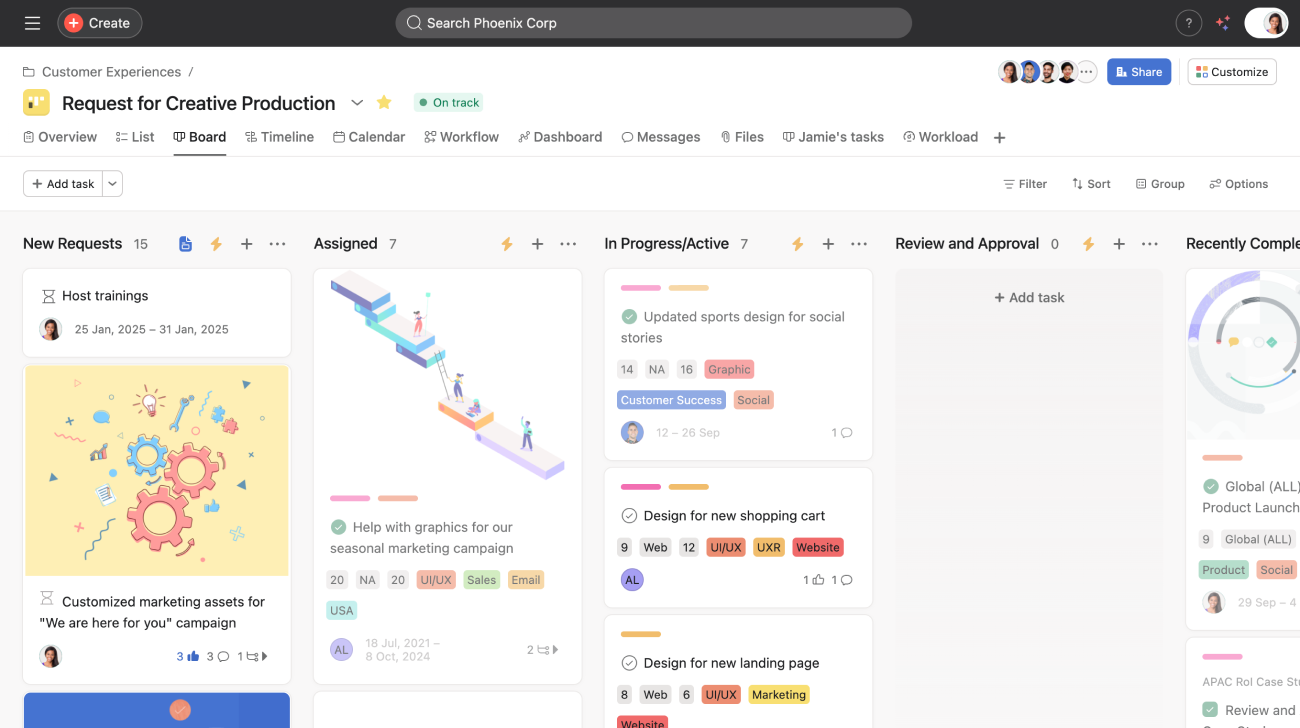
Use board view to make handoffs obvious as work moves through stages. Team leads can triage by Launch tier and Risk and spot blockers at a glance.
You can use rules in Asana to automate how work moves forward in your launch project, ensuring deadlines are adhered to and minimising manual busy work. Rules can get work to the right person at the right time or when the right criteria are met, and can even multi-home tasks into different projects to notify cross-functional teams if and when help is needed. This means less noise for stakeholders who may not need to be bombarded with every notification, but must be informed when their time comes to contribute.
Create a portfolio called “Product launches” and add every launch project so you can see owners, dates, status, risk, and key fields side by side.

Start in the List view to sort and filter by fields. Switch to the Workload tab to translate plans into capacity: choose Estimated time as the effort source, set weekly capacity for each person, and spot overloads weeks in advance.