Products
AI Platform
Asana Foundations
Company Type
The CSV importer will help you move your workflow out of spreadsheet software such as Excel or Smartsheet to Asana, so you can get started right away on any project. You can also import data from other work management tools.
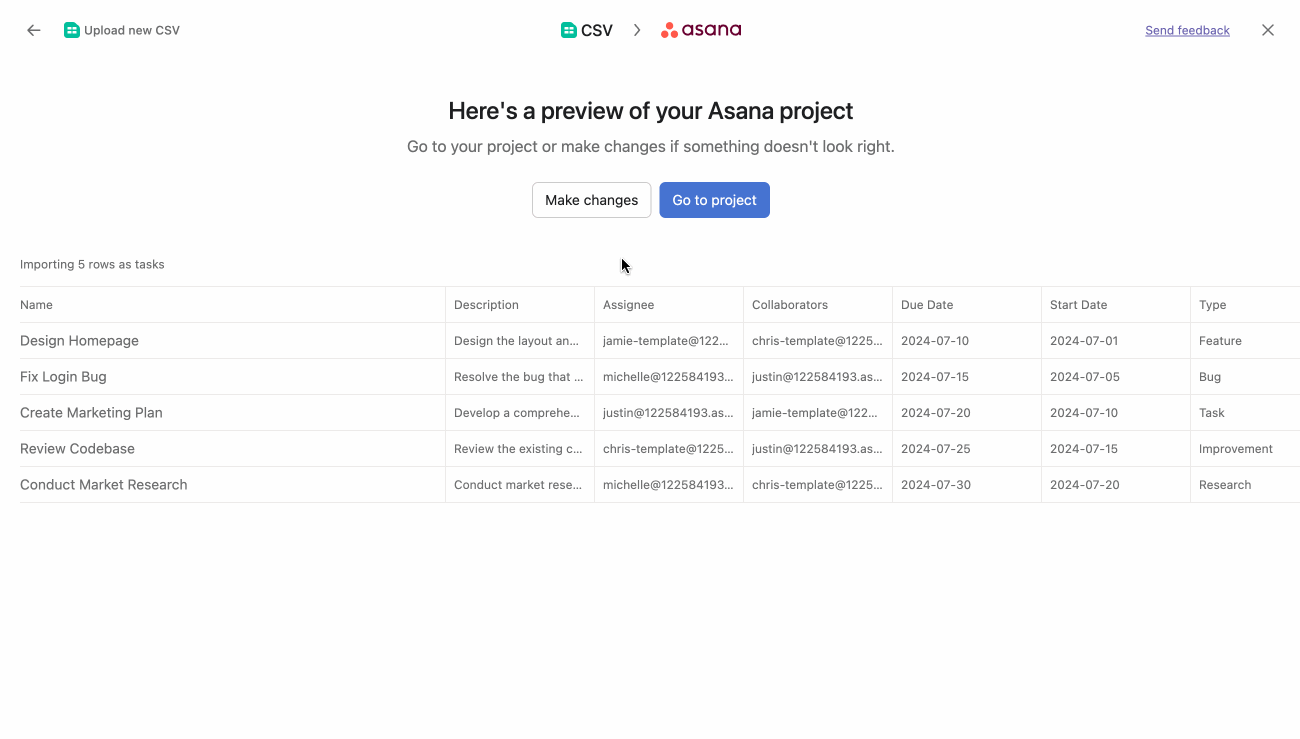
Once imported, you’ll immediately see your rows as trackable tasks in a project and each column as metadata about your tasks.
It is important to link subtasks correctly to their parent tasks.

To import subtasks via the CSV Importer:
Note
Parent tasks must be listed before the subtask in the rows.

To specify dependencies via the CSV Importer:
They should correspond to the dependent task names exactly. The dependent task should be located below the blocking task in the CSV file. In the example above, Create campaign message is dependent on both Kickoff meeting and Creative brainstorm. Since both tasks are blocking Create campaign message, Create campaign message is located below rows 2 and 3. If there are non-unique names in your CSV, the closest row above with a matching name will be used.
Importing data via CSV will not update any existing tasks in the project. Therefore, it will not be possible to create a dependency on any existing task by using the CSV importer.
Additional columns can be mapped to custom fields to help you categorize and track priorities, project stage, team or estimated time, among other uses. When creating a new project via the CSV importer, custom fields are local, not global. To use these fields for reporting or future imports, convert them to global custom fields.
Custom fields are only available with a paid subscription.
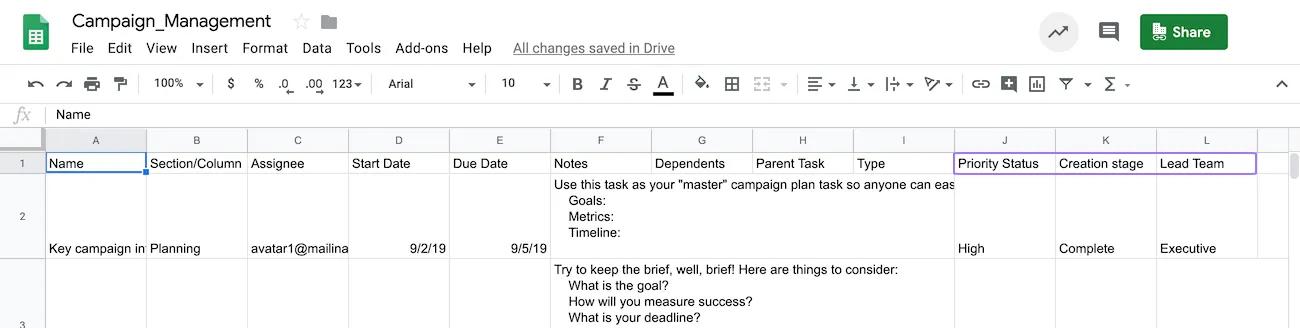
Custom fields can either contain text, numbers or dropdown values. The columns with no matching names to specific Asana fields (like Name or Section, for example) will be mapped as custom fields in the project.
The data in the CSV file can be mapped either to new custom fields or to existing ones in the project:
New custom fields will automatically be created for new projects imported from the Import spreadsheet option. Those new custom fields will be available only for that project, by default.
New custom fields will automatically be created in existing projects by importing the CSV file to that project. That will happen when the column name does not match any existing custom fields within that project or in your organization. Those new custom fields will be available only for that project, by default.
Data will be mapped to existing custom fields in a project or organization if the project was created first. You can use the existing custom fields in that project before importing the CSV file, or match the information in the CSV file to custom fields in your organization.
To map data from the CSV file to existing custom fields, make sure that the data in your columns matches your custom field options in the project or organization. If a cell has a spelling error or punctuation discrepancy, it will not import a custom field selection.
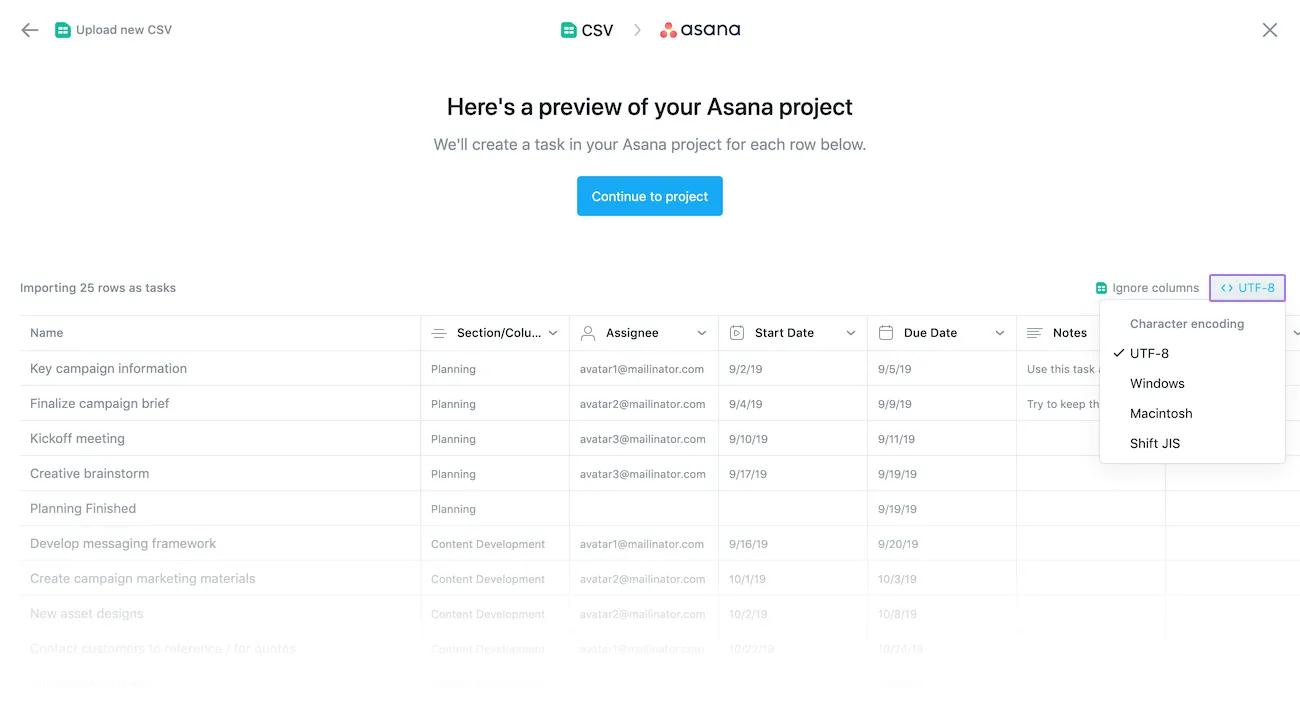
You can make changes in the mapping of the data, the columns imported or the encoding before creating your project by selecting the Make changes option in the preview screen.
Click on the column headers to change the field you want to map to.
You can also make changes in the type of custom field. For example, if a column displays numeric values and the type of custom field was set to Number fields, you can change it to Text field.
Notice that the Name column for the tasks is not actionable for changes. To select a specific column in your CSV file to be the task name, make sure the first row of that column has "Name" as a value. The information in the CSV file is mapped on Asana using the names of the columns.
You can click on the Ignore columns option to ignore columns with data you prefer not to import to your project.
If you are using a different CSV encoding format or a different locale, you can click on the character encoding icon to change the encoding to UTF-8, Windows, Macintosh or Shift JIS.