Products
AI Platform
Asana Foundations
Company Type
Visit our pricing page for more information.
This article explains how division admins can manage members and teams via the division admin console.
Division admins can remove users from their division through the Members tab of the division admin console. Removing a user from the division will not deactivate the user's account, nor will this action remove the user from the organization. Removing an organization member from a division will ensure that the member does not take up a space on a paid plan. Guests can be removed in the same way.
Please note, when a user is removed from a division their paid license is removed but they will not receive a notification about this as they have not been deprovisioned (removed from the organization). If a user is removed from the organization, they will receive an email to notify them of this.
Removing a user from a division does not remove the user from the organization, or any other teams or divisions that they are part of. See Deactivating an organization member through the division admin console below for instructions on how to deactivate an organization member instead.
Note
Removing a user from a team does not remove them from your division. Admins must remove them from the members tab in the admin console.
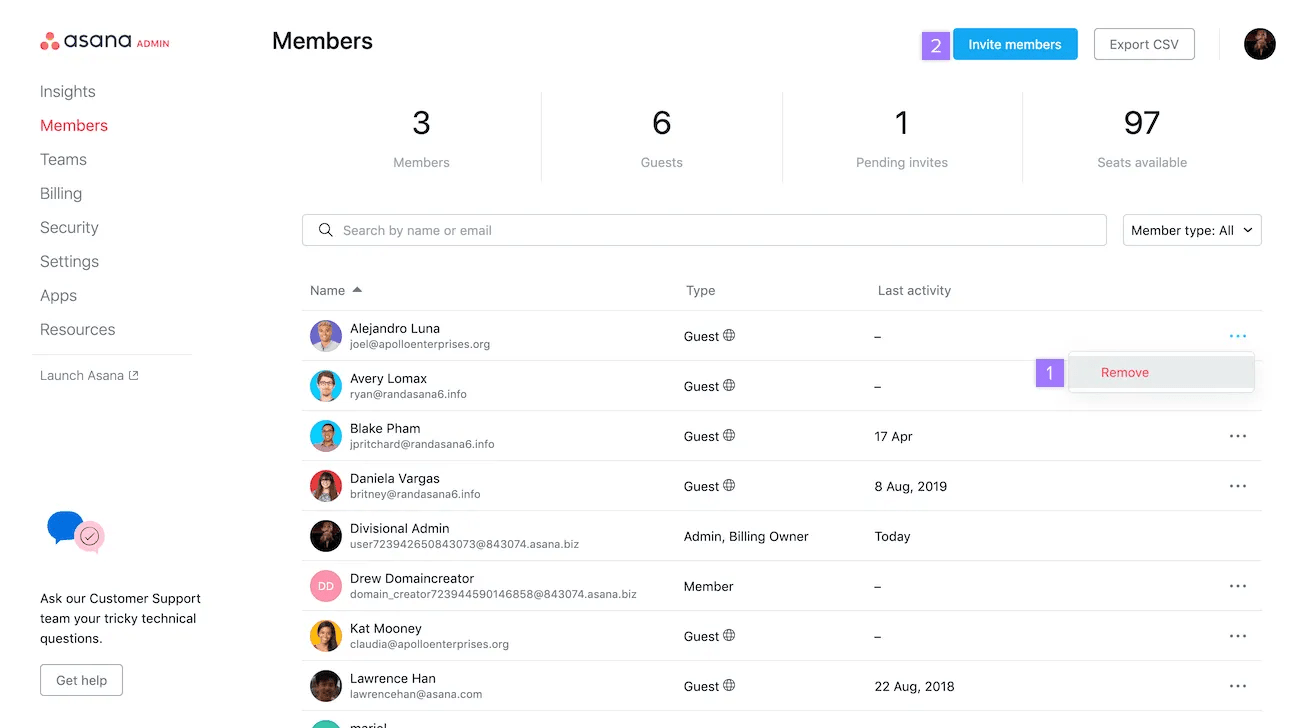
To remove a person from your organization through your division admin console, navigate to the Members tab of your admin console.
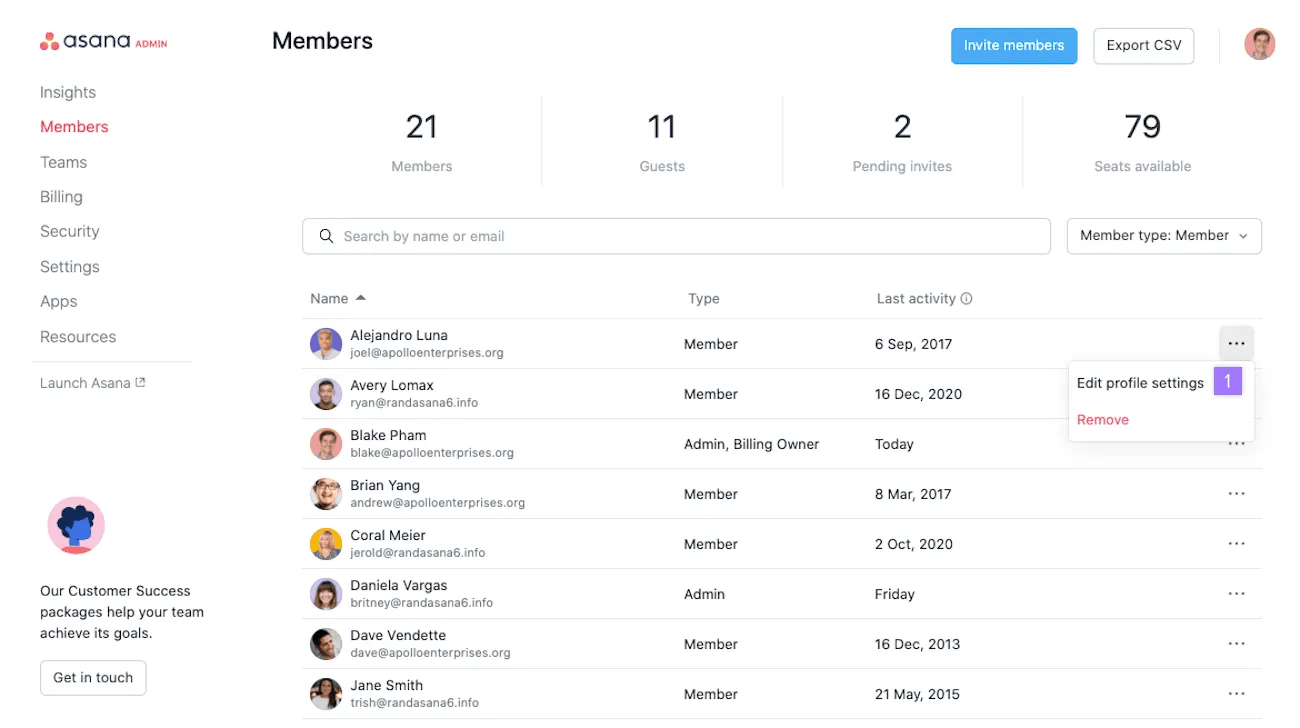
Find the name of the person by scrolling down or using the search bar. Once you’ve found the person, click the three dot icon and select Remove.
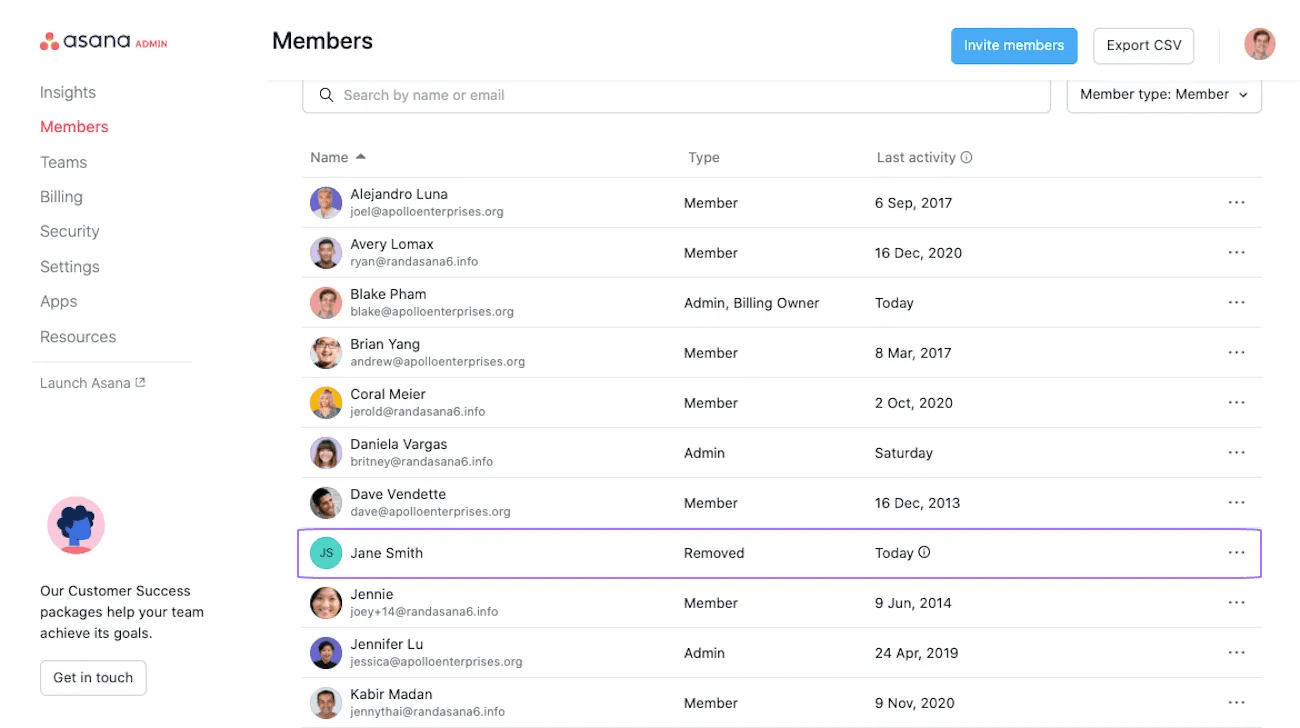
The deactivated member will then show in your member’s list as Removed. Deactivated users will receive an email notifying them of the account deactivation.
After you have deactivated someone from your organization through the division admin console, a private project containing their previously assigned tasks will be auto generated. You can assign these tasks to yourself or another member of your division. This allows you to easily assign pending tasks to the appropriate person to manage.
If necessary, a simple next step solution to delegating would be to multi-select deprovisioned tasks, where you can take mass actions on tasks and even bulk assign them to yourself or other division members.
The time of the deactivation will appear in the Last activity column.
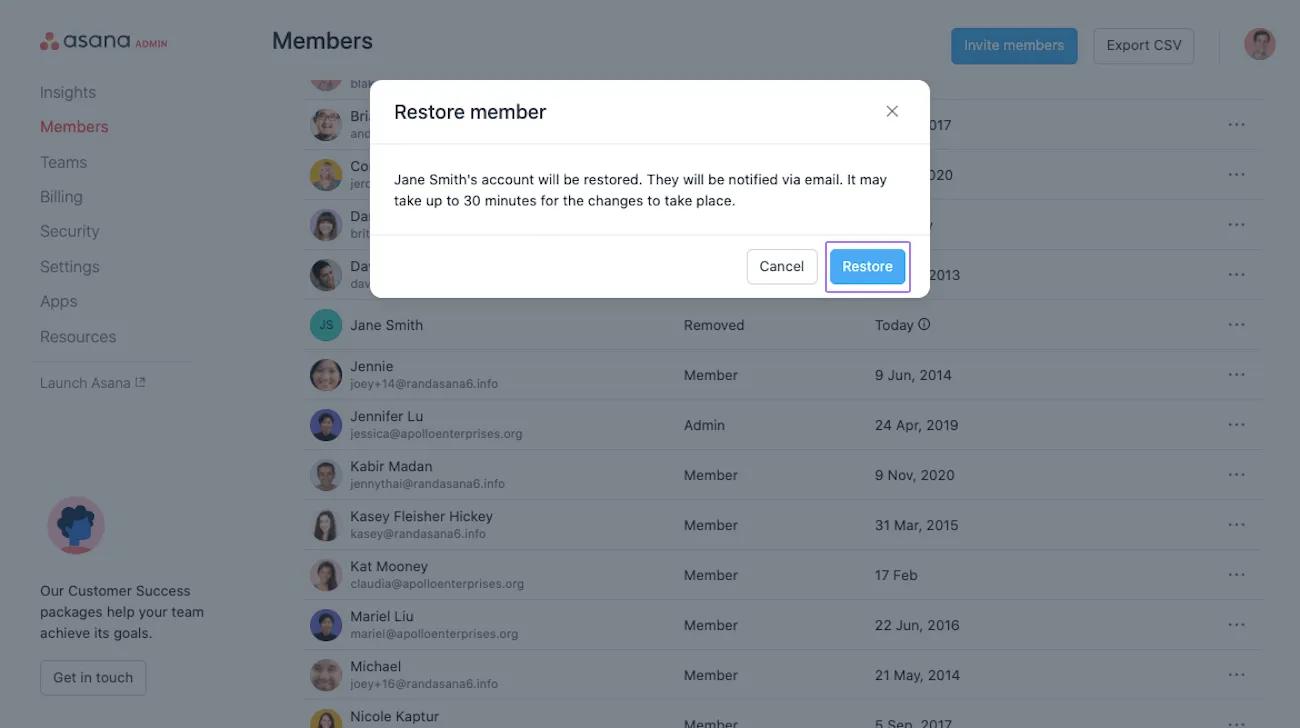
Restore a deactivated member by finding their name in your Members tab. Then click the three dot icon and select Restore.

From the next window, select Restore.
You can create a team in a division directly from the admin console at any time.
To create a new team in a division:
Admins can bulk assign licenses to users via the teams tab by selecting “Assign Licenses.” This will automatically assign licenses to any unlicensed, free users who are on those teams. If users within the teams are already on different divisions, they will not be added to your subscription.
Admins of a division can export their team list to CSV through the Teams tab of their admin console.
You will then receive an email message with the link to download the CSV file.
Admins of a division can export division member data to a CSV via the Members tab of the division admin console.
From your admin console:
You will then receive an email message with the link to download the CSV file.
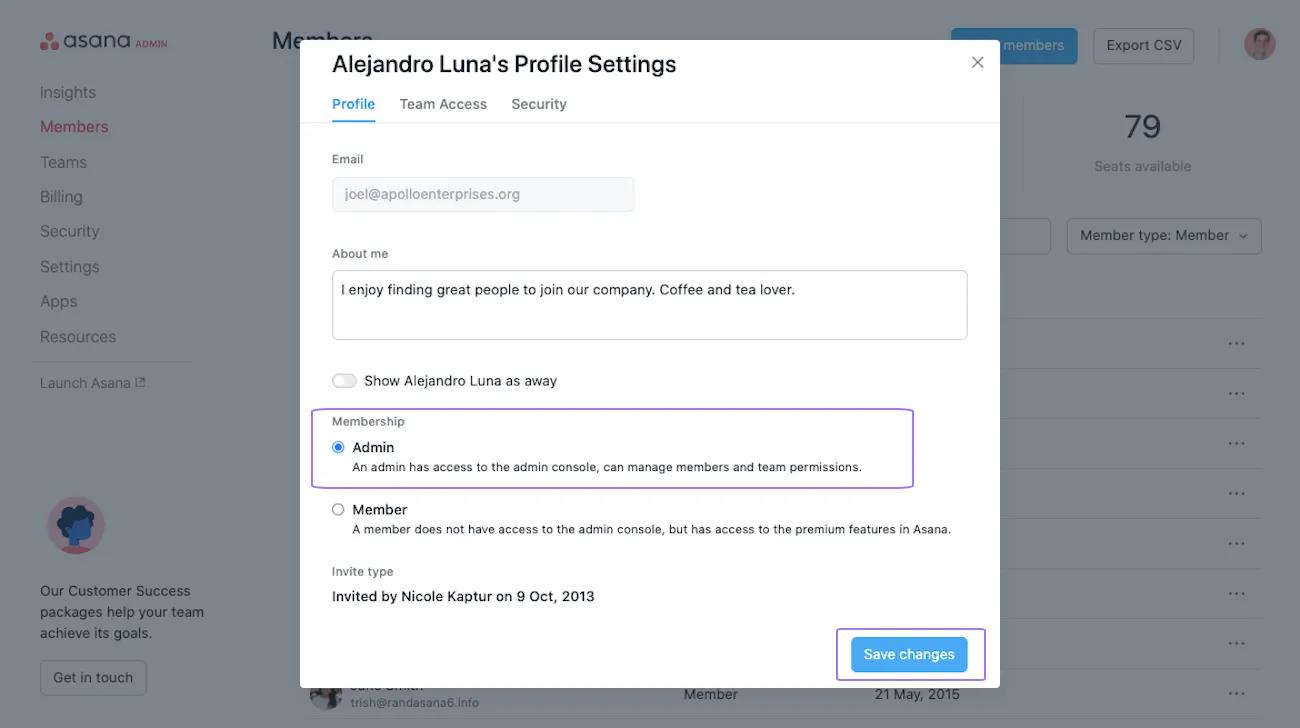
Divisions can have multiple admins. Division admins can appoint other division members as admins, and no longer need to be a part of every team in the division.
This feature is suitable for large divisions where it may not be reasonable for admin duties to fall on one person alone.
Next, under Membership type select Admin and then click Save changes.
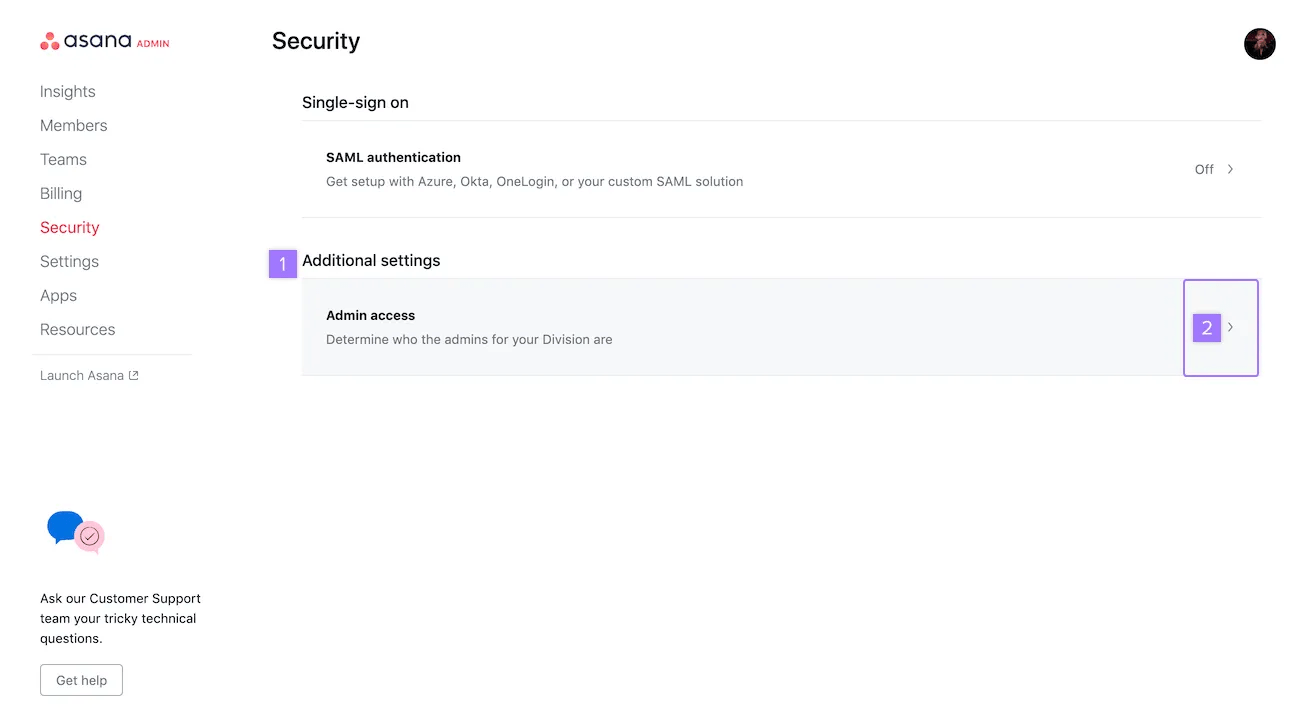
Here you can add an admin and view the admins of the division.
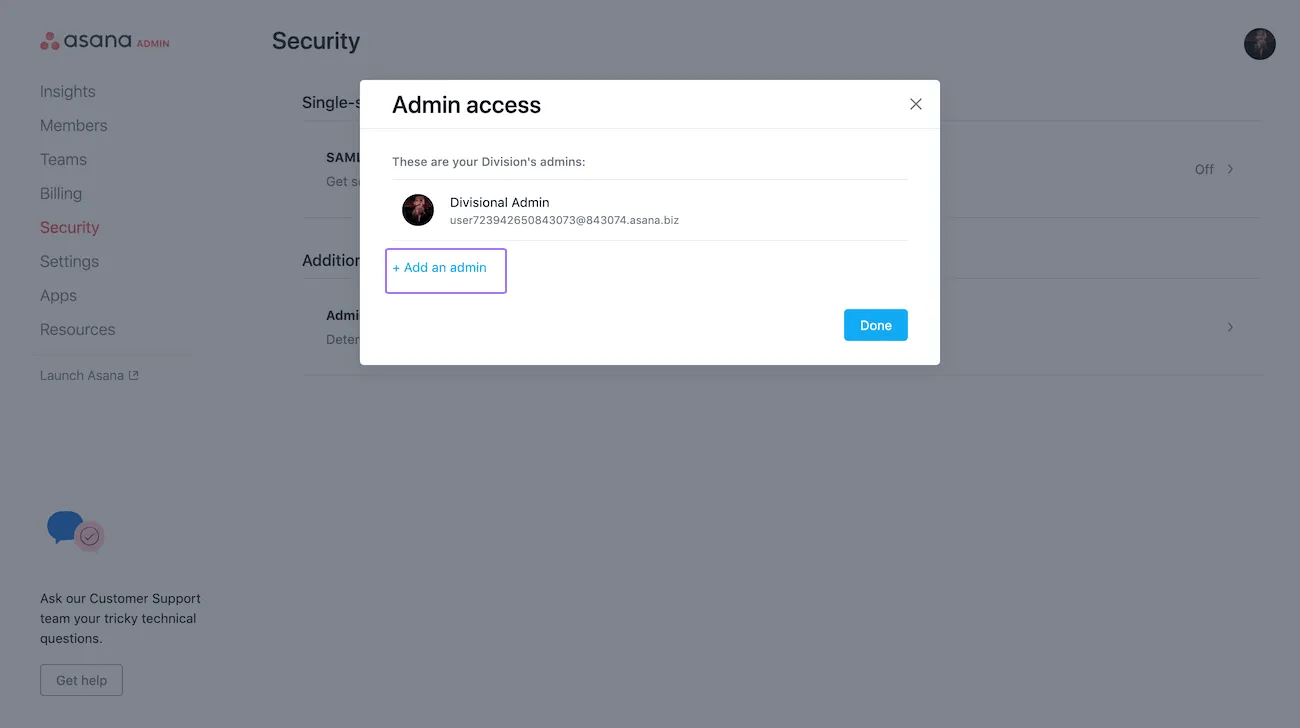
A pop-up window will appear allowing you to Add an admin. From here you are redirected to the members frame where you can determine who you want to grant admin access to.