Asana has introduced enhanced date action functionality in rules, offering more flexibility and precision when automating your work. This article explains the key features and how to use them.
Related articles:
Key features
Consistent design: With the launch of new date actions, there is now a consistent user interface design whether updating an existing task, creating a new one, or setting a due date with a date custom field.
Negative offsets: The new date actions now support the ability to set due dates in the past. For example, a rule can create a subtask to finalize the meeting agenda two weeks before the meeting.
Set dates relative to custom date fields: New date actions will also be able to set dates relative to the triggering task’s date custom fields, in addition to the actual due date field.
Using the date action interface
The date action interface consists of several components that allow you to set dates with precision.
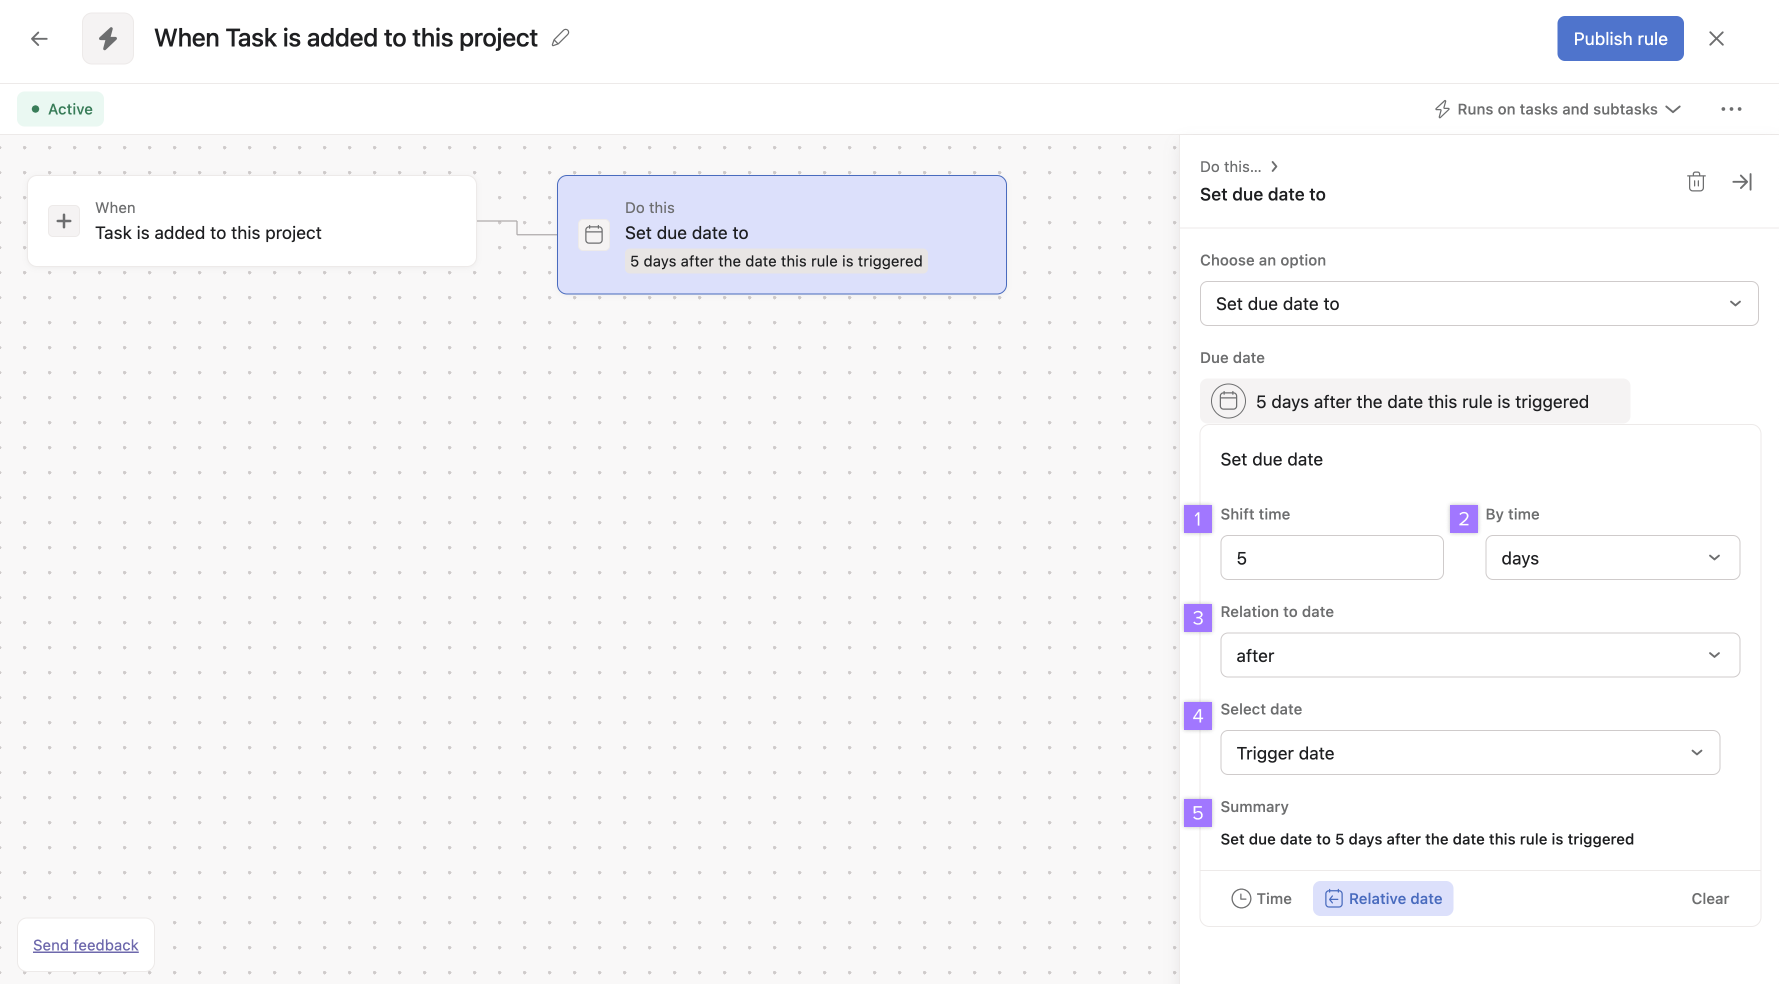
- Shift time: Input any numeric value (3, 5, 90) based on the time period you want to shift by. This works in conjunction with By time to specify the exact date shift.
- By time: The unit of time you wish to shift by. Choose between days, weeks, months, or work days. This works in conjunction with Shift time to specify the exact date shift, e.g. 5 days, or 3 months.
- Relation to date: Choose between after or before to create a relation to the date, e.g. 2 weeks before, or 90 days after.
- Select date: Choose the date field to be used
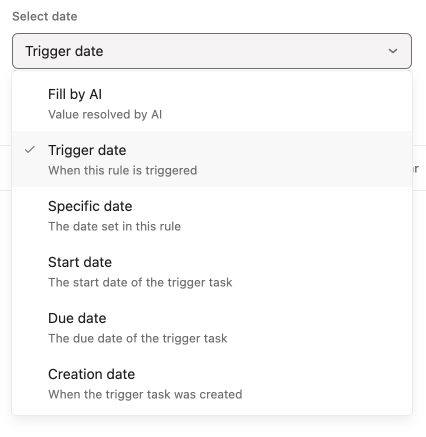
Select from the following:
Fill by AI: Value resolved by AI, based on Smart workflow instructions.
Trigger date: The date that the rule is triggered
Specific date: A specific date set in the rule
Start date: The start date of the trigger task
Due date: The due date of the trigger task
Creation date: The date the trigger task was created
Custom date field: The date of any custom date field used in the project, e.g. Launch date, review date, estimated completion date. Custom date fields in projects are separate to due dates. - Summary: As the new date actions in rules contain many components, the new user interface summarizes the chosen date action in plain language for clarity. In the example below, the rule is set up to run when a task is added to the project. The action that the rule takes is to change the due date of the triggering task. The specific date that the due date is changed to is set out in the due date panel in the image below. This particular example shows that the due date is to be set to 5 days before the Estimated launch date value of the task. Estimated launch date is a custom date field added to the project. The task’s new due date will be set to 5 days before the date set for the Estimated launch date.

