Products
AI Platform
Asana Foundations
Company Type
Available on Asana Enterprise and Enterprise+ tiers.
Visit our pricing page for more information.
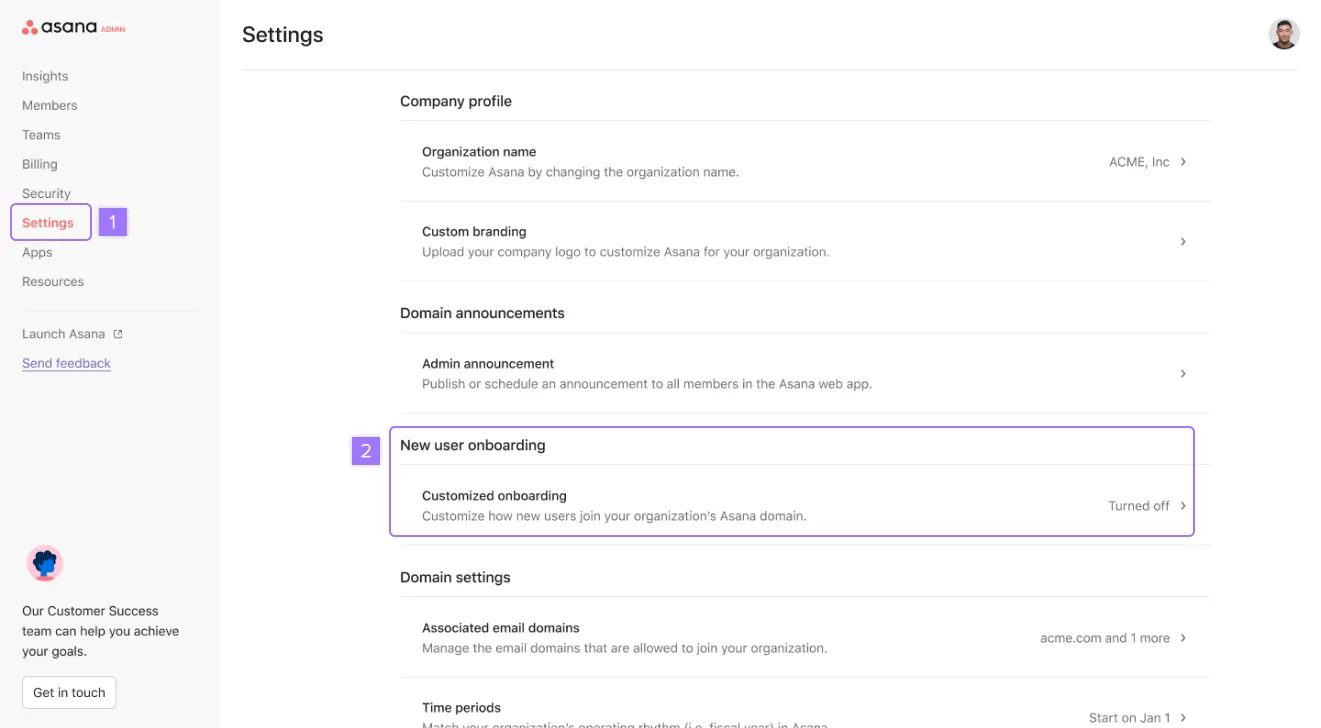
Custom onboarding allows you to customize the onboarding process for your new users. This feature is accessible to organization admins and super admins via the admin console under the Settings tab. By default, this setting is OFF.
Custom onboarding consists of three main components: user selection, onboarding steps, and content to assign.
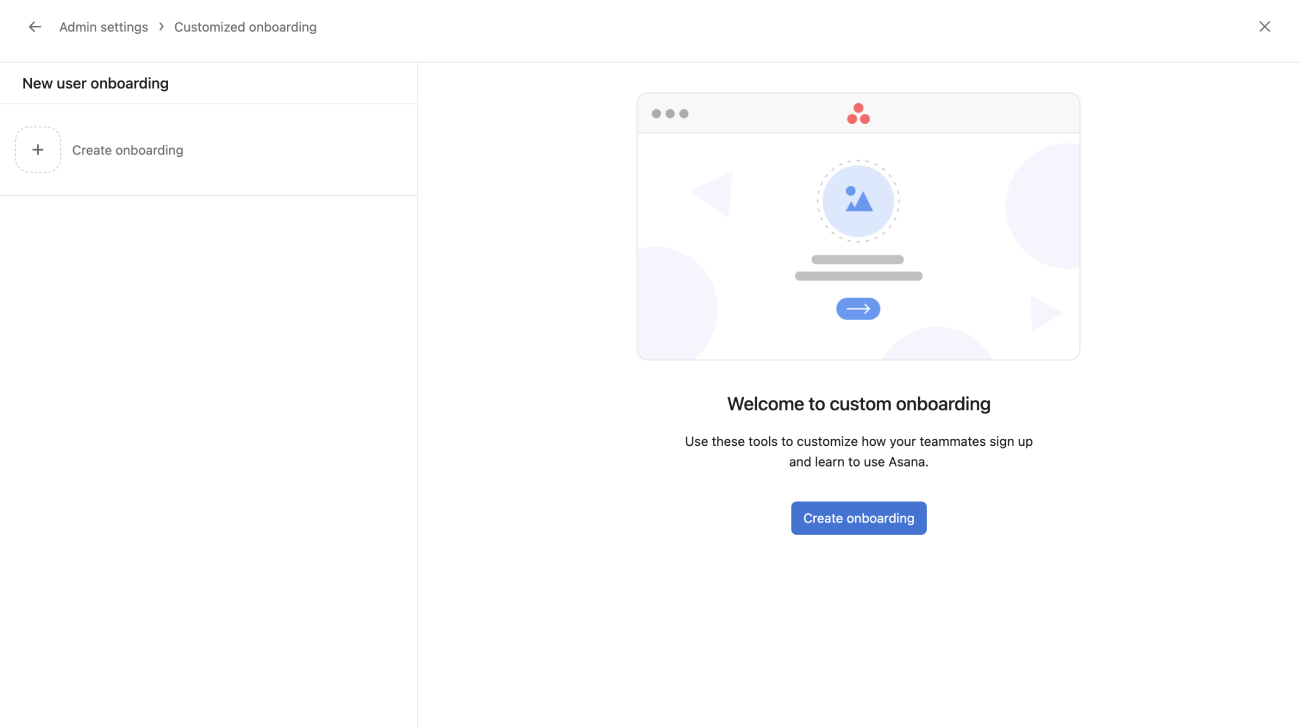
To create a new user onboarding:
A new window will open. From here, you can create a new onboarding.
This is where you’ll determine which new users should receive your custom onboarding. Here, you can choose to include or exclude specific users based on specific conditions such as:
Team memberships allow you to add teams to the custom onboarding. You can add a single team or multiple teams to the same onboarding group.
To add teams click + Add team memberships and select teams from the drop-down or type the team’s name.
For divisions, users must be assigned a license from this division before they join Asana in order to receive custom onboarding configured by the division. This can be confusing as users can be invited to Asana as free users and then assigned an Enterprise license after joining, which will not trigger custom onboarding.
See licence assignment in divisions for more details on how division licences are assigned to users.
This optional step allows you to automatically assign new users to a team (i.e., a “Staff” or “General” team) as well as select a template that will automatically generate an onboarding project for new users when they arrive in product.
The onboarding project is a great way to ensure all users start with the required resources or clear steps to get started in Asana. You can create this template using the Templates feature. If there is a Role in this template and that role has been assigned to the tasks in the project, we will automatically assign those tasks to the new user. This does not work if there are multiple roles assigned in the template. To set up the onboarding project, there are three selections:
This section determines what screens new users will see during onboarding to Asana. By default, “Simplified account setup” is ON, which indicates that we are bypassing the standard onboarding process for new users. This step cannot be turned off if you enable custom onboarding.
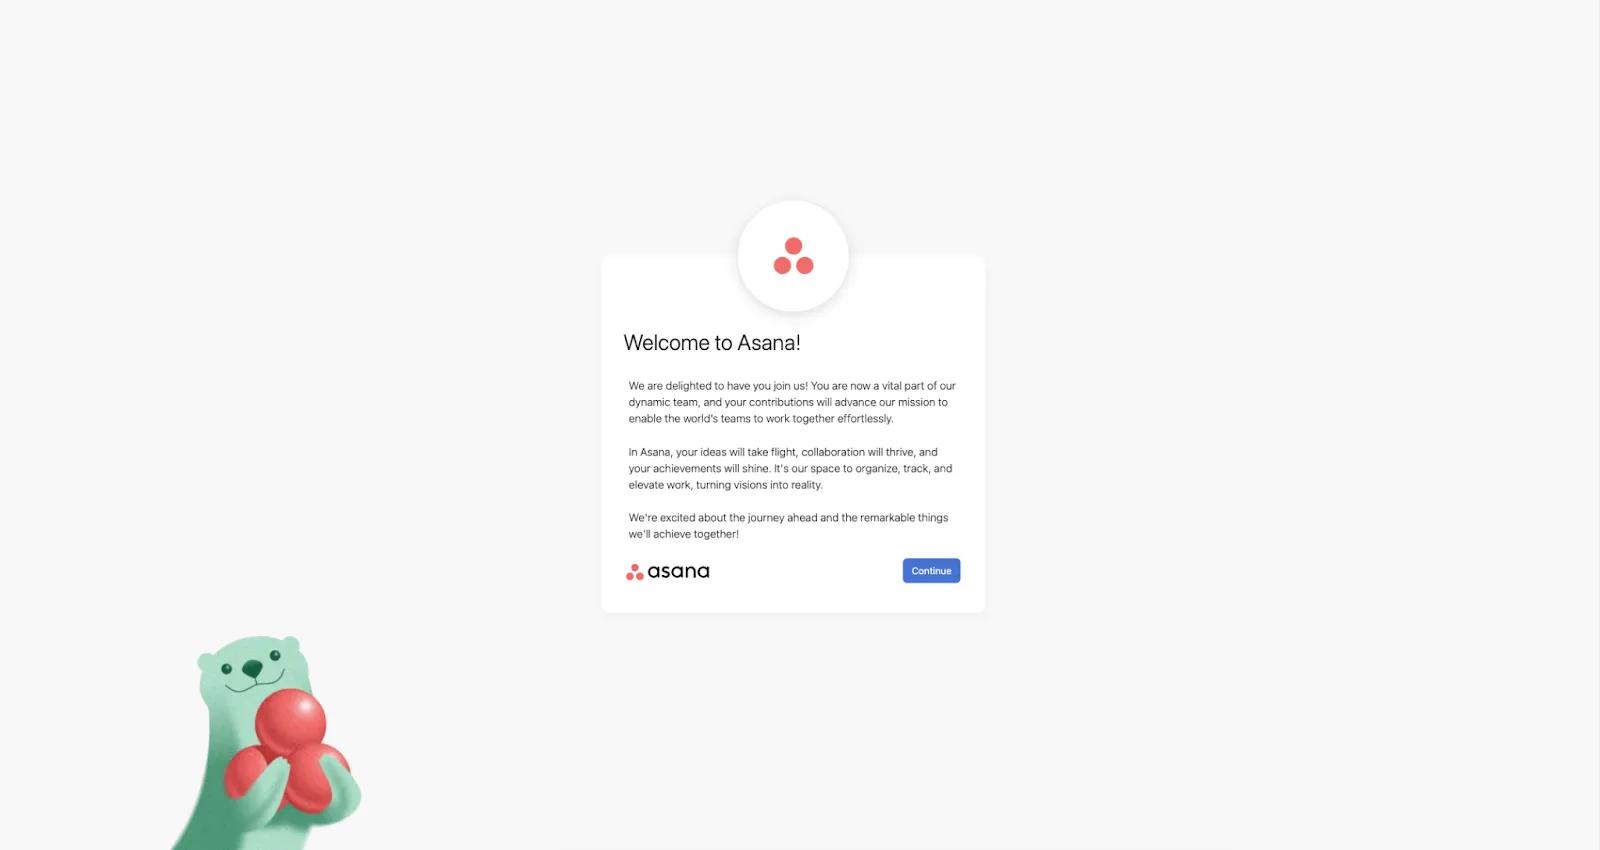
The custom welcome screen is an optional selection that allows you to insert your company’s branding and messaging into the onboarding experience. Here, you can set a default message, upload a custom logo, and select a background color or custom background image.
Please note that links to internal Asana pages would not work for new users because they have not yet completed the account setup and will not have access.
Here’s an example of how this might look for your company.
The custom start screen option lets you dictate where your users will arrive in Asana. You have four options available:
Once you have made your selections, you can preview and enable your new onboarding experience. To get started, click Save.
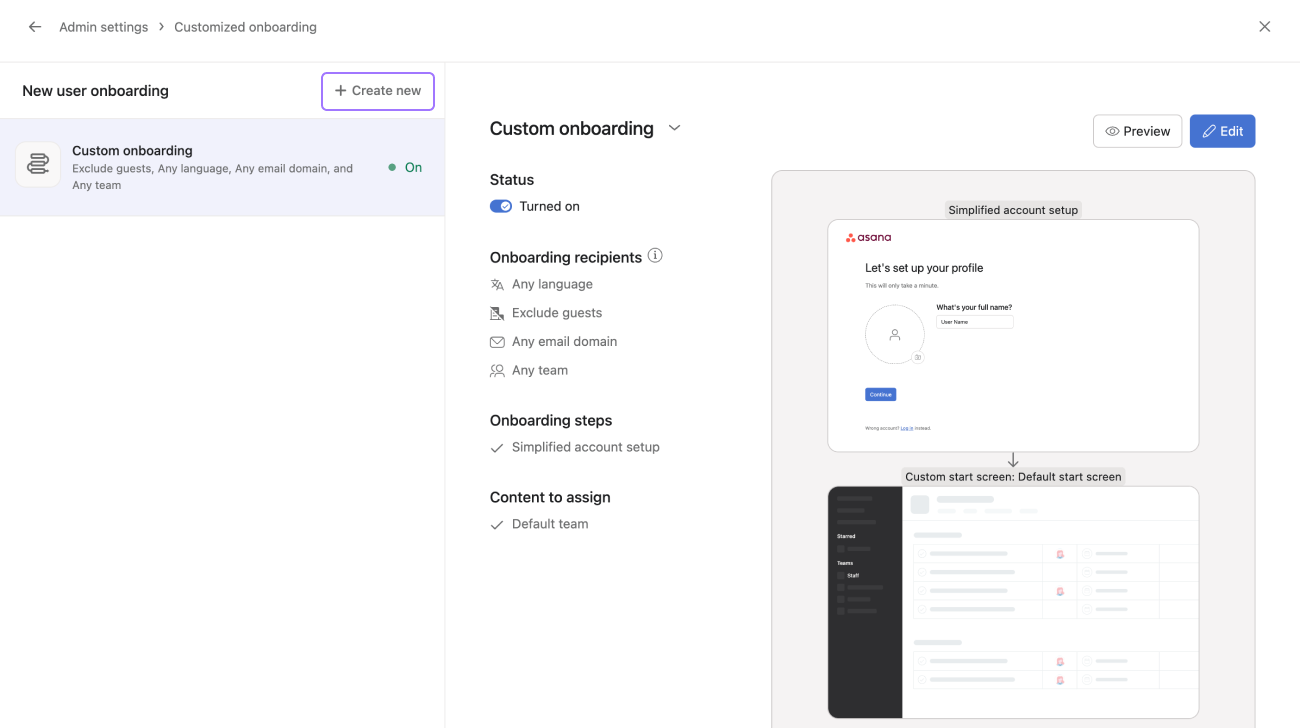
Once you have saved your custom onboarding, you’ll automatically see a visual preview of your flow and an itemized list of your selections on the left. You can scroll down to see all three screens of your new flow. Please note that we cannot simulate a live preview of your start screen selection, so this will appear as an illustrated representation rather than real content.
To simulate the flow yourself, please select Preview. You can now click through your new flow just as a new user would during onboarding. You can restart this flow from the bottom right, and when you are finished, click Done.
When you are ready to enable your new onboarding flow, please select Turn on. You’ll be prompted with a confirmation modal and then click Turn on again to confirm. Your flow is now live for any new users added after enabling the setting! If you wish to make changes, you can now do so by clicking Edit, and if you ever wish to turn off your flow, you can do so by clicking Turn off.
You can create multiple onboarding flows based on specific user roles, departments, or needs. By customizing the onboarding journey, you can ensure that new team members receive relevant information and guidance from day one.
For example you can create different onboarding flows for different languages or departments. Each onboarding flow would be tailored to their specific needs.
Custom Onboarding will always route a user towards the most specific, applicable flow and you can use this logic to ensure that users are routed correctly when they signup. To use an example: