Products
AI Platform
Asana Foundations
Company Type
Visit our pricing page for more information.
Available on Asana Starter, Advanced, Enterprise, and Enterprise+ tiers, as well as legacy tiers Premium, Business, and Legacy Enterprise.
Visit our pricing page for more information.
Gantt view equips project managers with the tools to visualize and manage project plans effectively, offering insight into task durations, delivery dates, dependencies, and baseline of your project plan. Gantt view is particularly valuable for large, structured, complex projects that require meticulous planning and comparison of original plans against real-time progress.
Gantt view is available for both new and existing projects. You can add/remove Gantt view as follows:
Note
Removing Gantt view from your project will not delete any tasks, this will simply remove the view. The view can be added again at any time.
Strategic planning: Gantt view allows you to plan and estimate essential delivery dates by leveraging task auto-scheduling and duration calculation.
End-to-end management: With a clear depiction of work schedules, including subtasks and dependencies, project managers can effectively oversee projects from start to finish, ensuring seamless coordination.
Progress monitoring: One of the standout features of Gantt view is its ability to monitor project deviations over time. By comparing current progress against an established baseline, project managers gain insights into how well a project adheres to its original plan.
Enhancements and new features: In project management, the complexity of tasks can escalate with the size of the project. Gantt view addresses this challenge by providing an intuitive interface to schedule and manage projects. This view condenses tasks, durations, key dates, and dependencies into a single, accessible location. This is particularly advantageous for larger projects, allowing project managers to gain a holistic perspective and make informed decisions.
Structured and process-oriented approach: Gantt view is not only a tool for visualizing projects; it also facilitates structured and process-oriented project management right from the outset. This is especially beneficial for projects that require well-defined workflows and adherence to procedures.
To view a project in Gantt view, you will need to add the view to your project. Once the view has been added, open your project in Asana and navigate to the Gantt tab.
More information on the Color, Auto-scheduling and Baseline features can be found below .
You can create chain dependencies in bulk with Gantt view. To do so, multi-select the relevant tasks and select the Chain dependencies option from the pop-up bar that appears at the bottom of the screen.
You can map the colors of the bar to a custom field in Gantt view.
To this this:
Advantages and examples of color mapping to a custom field include:
Compact mode condenses the information shown in the left pane, allowing you to view more tasks at once.
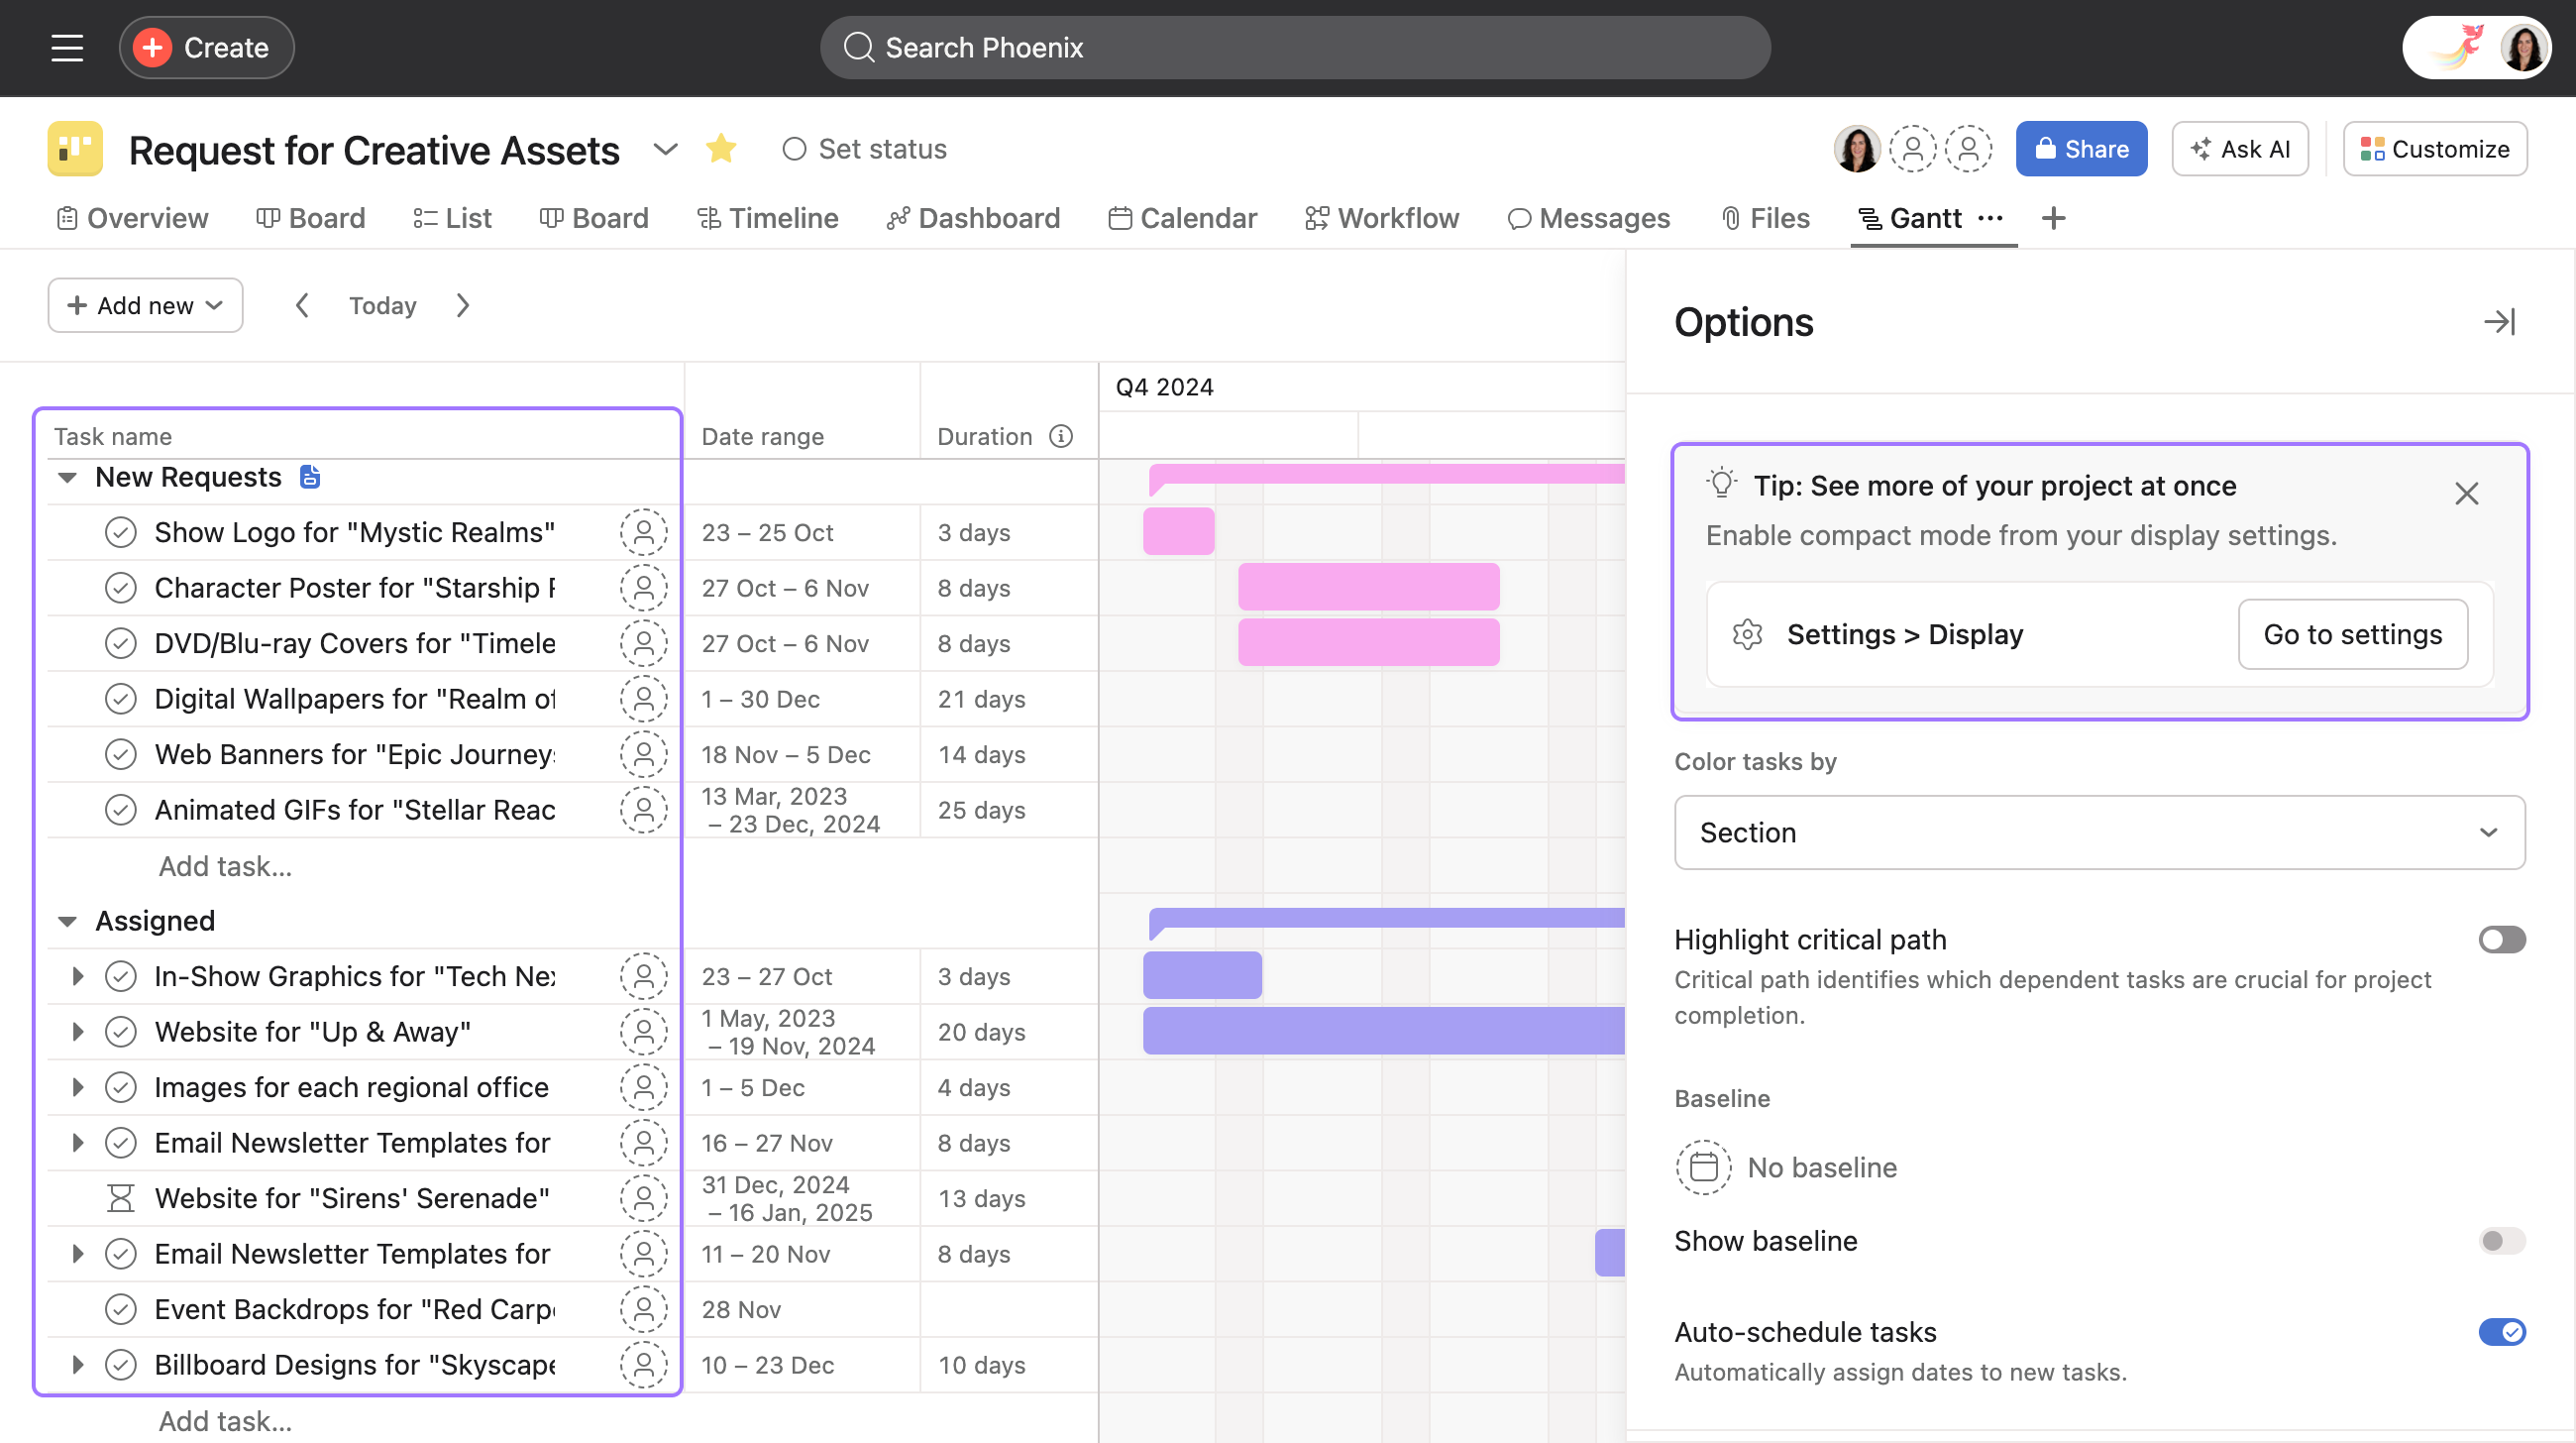
To enable compact mode:
Baseline captures a snapshot of the project (including tasks, dates, durations, etc.) at a point in time. It can be used for a visual comparison of the captured vs. current project plans to show how the project has deviated over time.
The rectangles with the diagonal hash pattern show the original plan, which you can compare against the current project shown via solid rectangles.
Each project can only have 1 baseline. Creating additional snapshots override the current snapshot.
Dependencies are the relationships among tasks that determine the order in which activities need to be performed. With task dependencies, you can mark a task as blocking another task, or blocked by another task. You can create task dependencies within Gantt view using drag and drop.
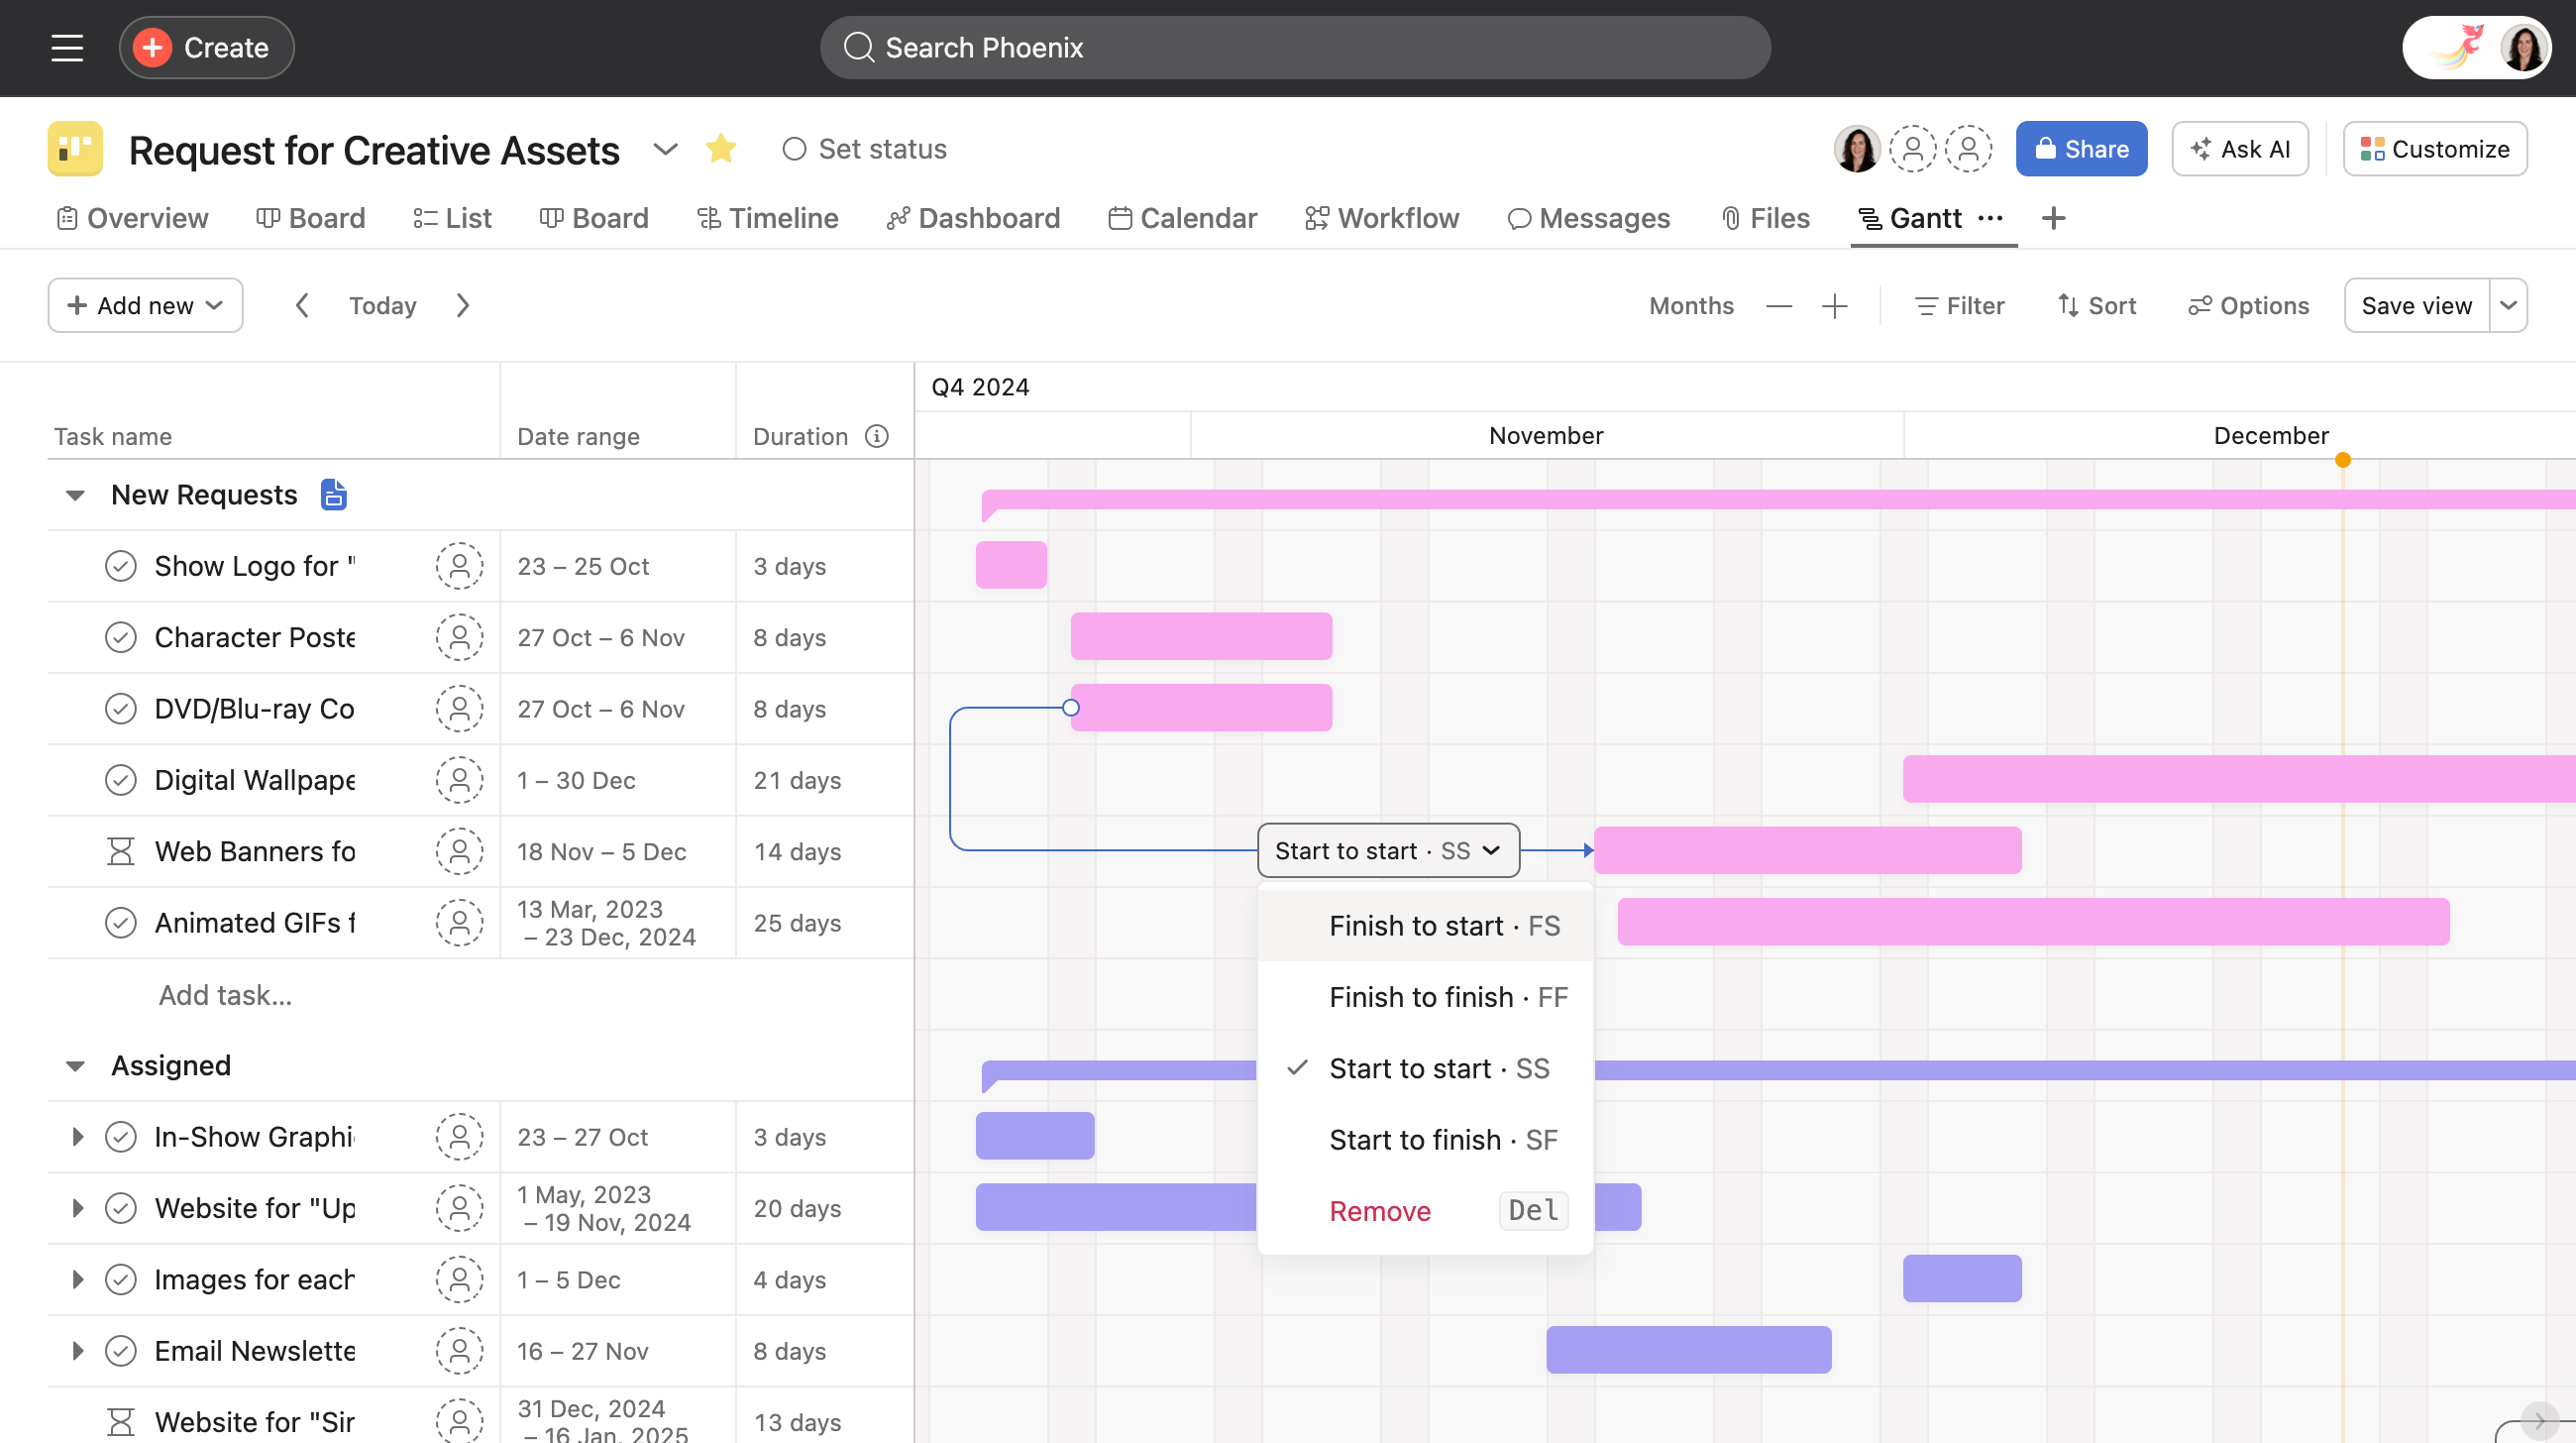
To create task dependencies:
To help you quickly create your project structure, Asana will automatically assign dates to new tasks in Gantt view. As you create tasks, they’ll have consecutive date ranges as well as a duration of 1 day by default. If you zoom out to a half-year or year view, the date ranges will be populated as a duration of 5 days by default.
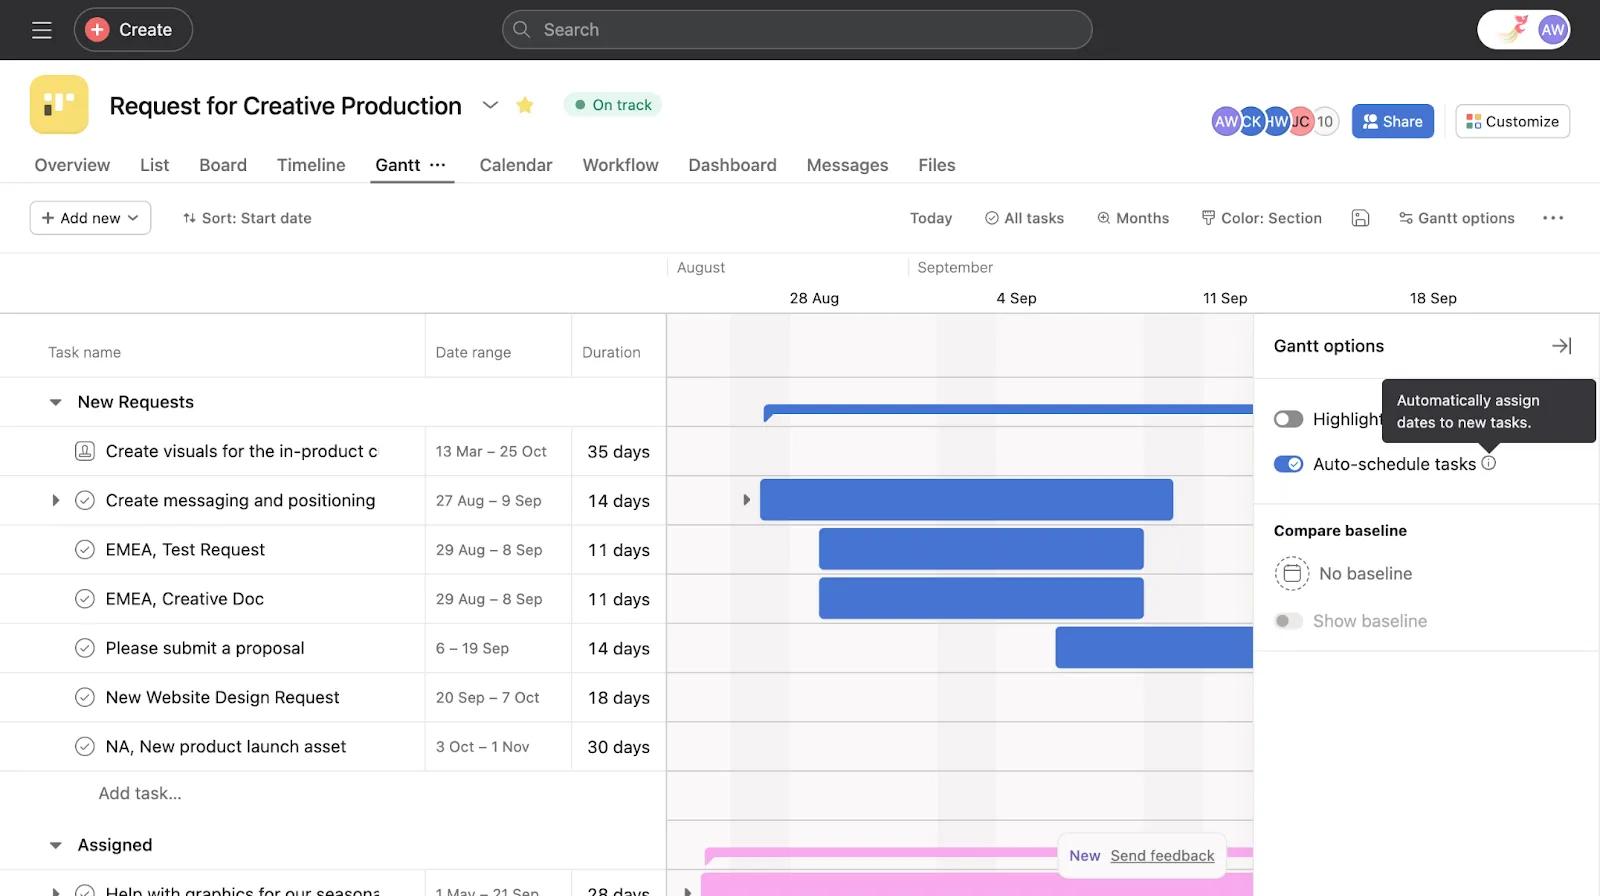
Auto-scheduling is enabled by default. If you wish to turn off auto-scheduling, follow the steps below:
Need Gantt view guidance? Ask the Community.