Products
AI Platform
Asana Foundations
Company Type
In This Article
Visit our pricing page for more information.
The overview section gives you an in depth snapshot of the status of any project you’re working on. Status reports make it easy to create rich, repeatable, actionable status updates and share your work with key stakeholders.
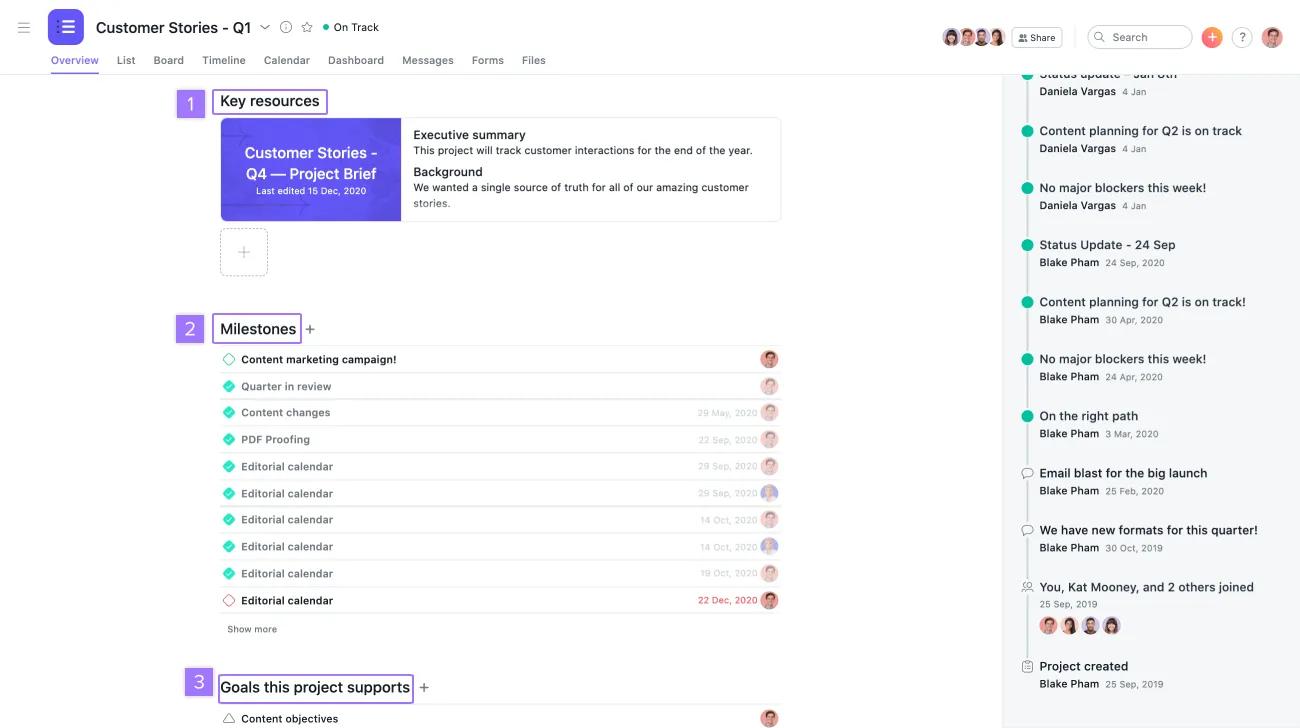
When you click into the Overview tab in your project, you’ll be presented with a snapshot of your project’s current progress status.
From your overview tab, you can also see milestones, goals, and key resources which are associated with your project.
Note
Only portfolios you have access to will be displayed.
From the Overview tab, you can get a quick look at historical status updates with the dots diagram.
From the Dashboard tab, users can access a burnup chart to help track your team's velocity over time and the speed at which they are completing the work. Customize charts to see what tasks are completed vs what's not completed and more. Visit this article to see how you can display metrics for a project's overall performance and progress or highlight issues.
Any project member can set a status to inform other project members on a project’s progress.
The templatized block structure allows you to incorporate the actual work being done in Asana with narrative context to explain the status of the work.
Please note that you must select a project status of before you can post a project status update.
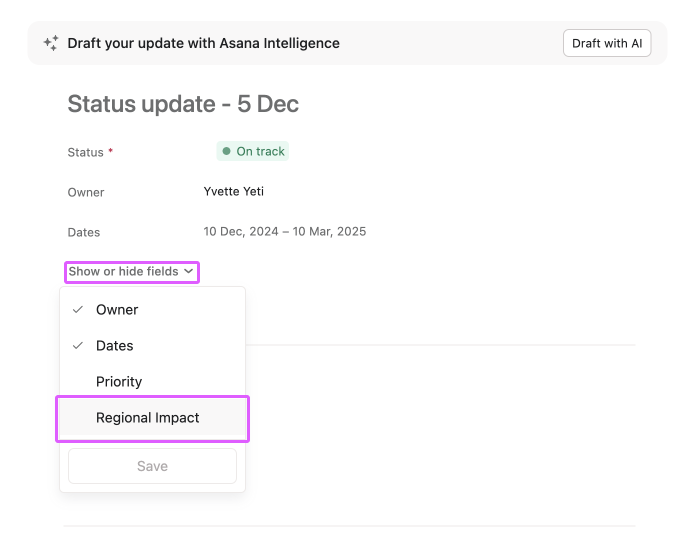
The ability to add custom fields in your status update is available on Asana Advanced, Enterprise, Enterprise+, as well as legacy tiers Business and Legacy Enterprise.
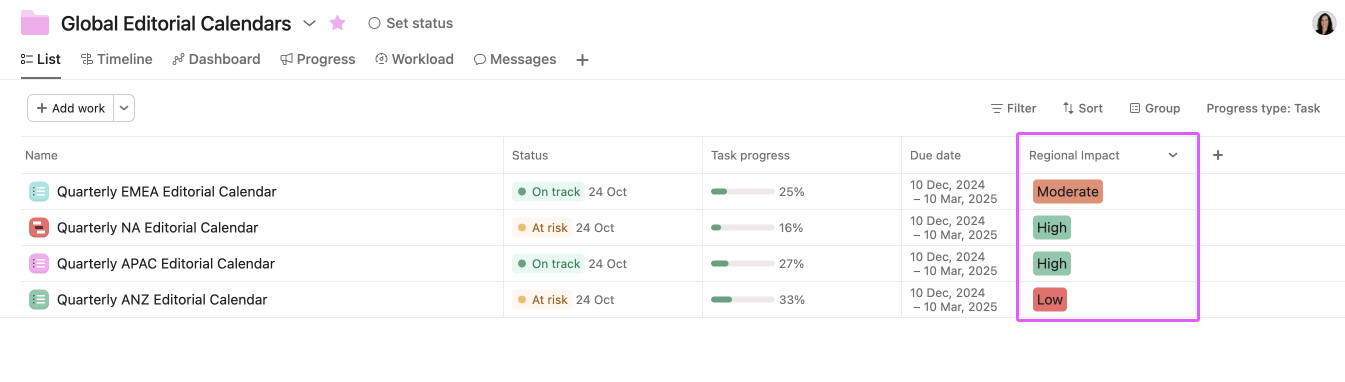
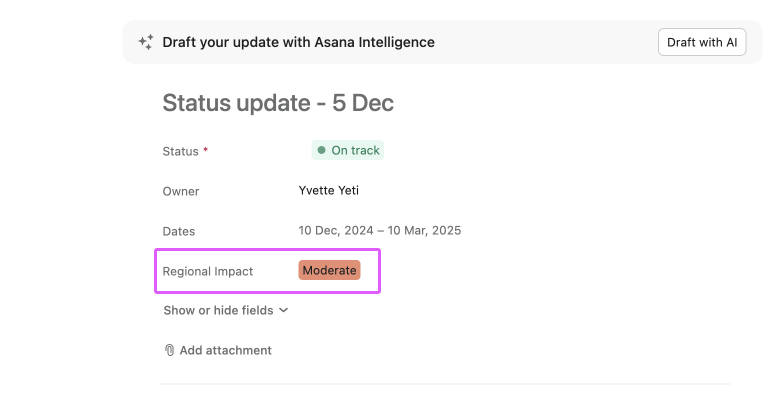
Similar to how you can apply custom field values to tasks within a project to provide additional context and improve reporting, you can also apply custom fields to projects within a portfolio. The custom field value referenced in a status update comes directly from the custom field applied to the project at the portfolio level.
For example, the custom field “Regional Impact” might be used at the portfolio level to indicate the scope or priority of each project, with different values applied to individual projects. In this case, the "Regional Impact" value for the Quarterly EMEA Editorial Calendar project is set to "Moderate," and this value can be reflected in the project’s status update. This makes it easy to carry over portfolio-level insights into status updates, providing clear and consistent context for stakeholders.
Custom fields are the best way to tag, sort, and filter work. See them in action with a free Asana trial. Try for free.
You can drag and drop highlights such as completed milestones or overdue tasks into your status update to help tell your story. Adding these highlights gives a visual insight into recent achievements or potential blockers for your Team.
Once you’ve added your highlights and published your status update, Asana will remember the block structure and order for future updates.
You can also reorder your Summary, What we’ve accomplished, and Next steps section by dragging and dropping them into place.
You can add charts to your status update to give a visual representation of the work being done.
Each project's owner will receive a weekly task each Thursday to update the status of their project due Friday. If you are the project owner and do not want to receive these reminders, you can turn them off.

Status updates will appear in the project's overview and messages.
You can only delete your own project status, not a status posted by others.
Status updates are intended to be a snapshot of a project's status at a moment in time. As such the data is frozen at the time of publishing. This includes things like project name, custom fields, task names, due dates, and assignees.
This means that if a task name or due date changes after publishing, the appearance of the task in the update will stay the same so you can look back and get a complete account of a project's Status at a moment in time.
Anyone who is added as a collaborator on a status update will be able to see the entire contents of the report, even if they don't have access to the underlying project.
This means they'll be able to see whatever task details or text is included in the report. However, if they click on a task, milestone, etc, that is part of a project they don't have access to, they will see a request access page but will not be able to access the underlying data unless they are granted access.
Projects can be completed, regardless of whether there is an existing project status.

Completed projects should be marked as Complete in the status update instead of archiving them. We’d recommend completing projects before archiving. Archiving a project allows you to focus on more active project but does not update a project's status.
Marking a project as complete makes it easy to distinguish Complete from other statuses in a summary of projects in portfolios and reporting.
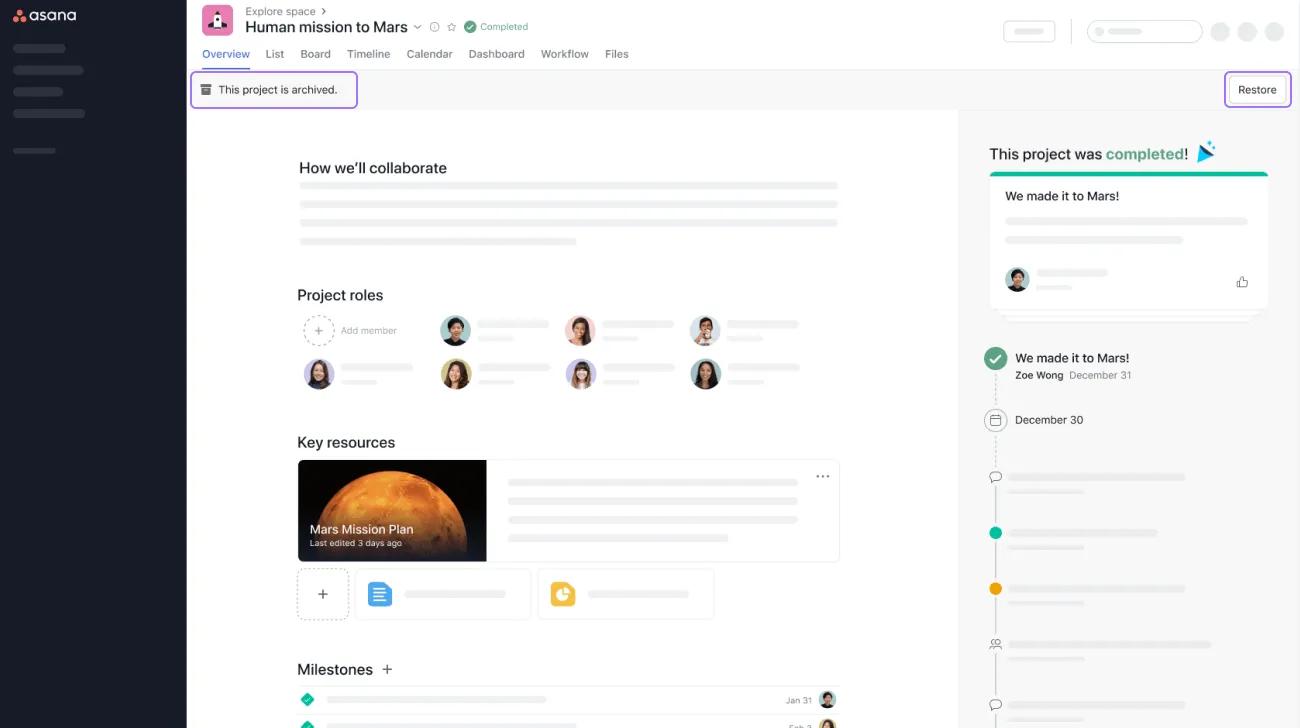
Once a project is completed, the Overview page will look like this:
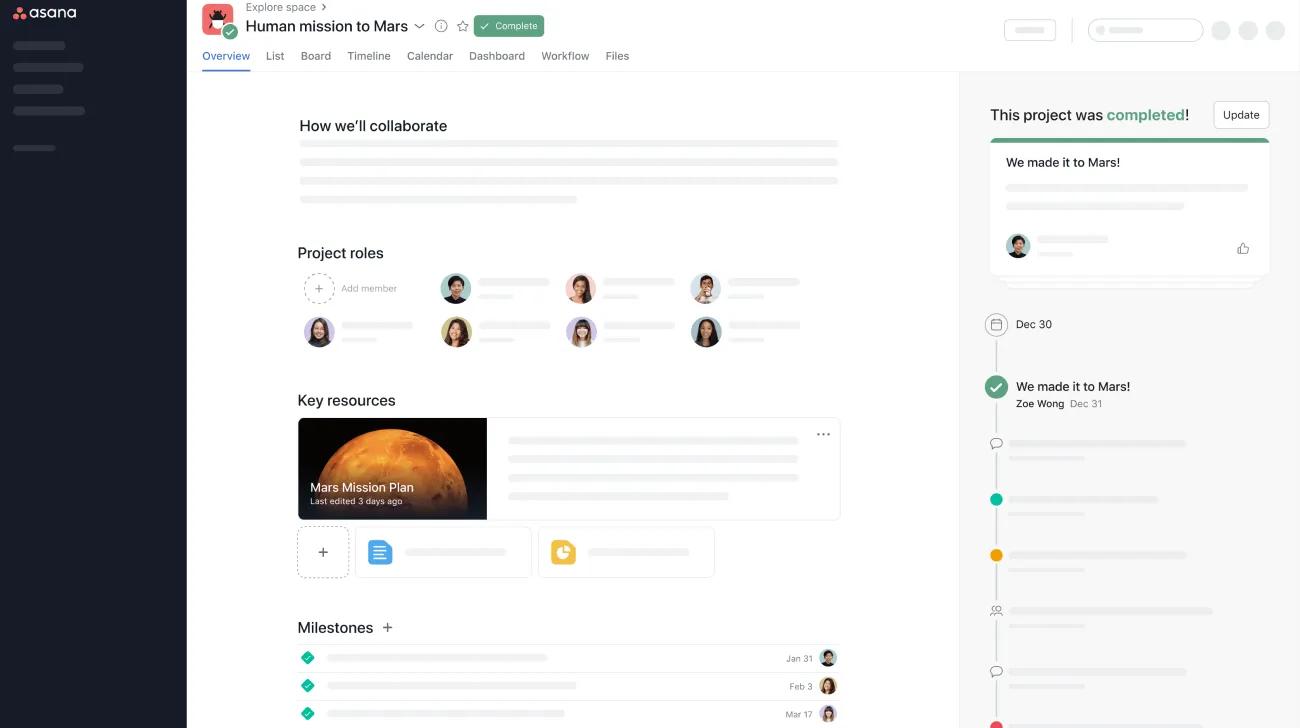
To uncomplete a project, click on Complete to select an updated status from the drop-down menu.
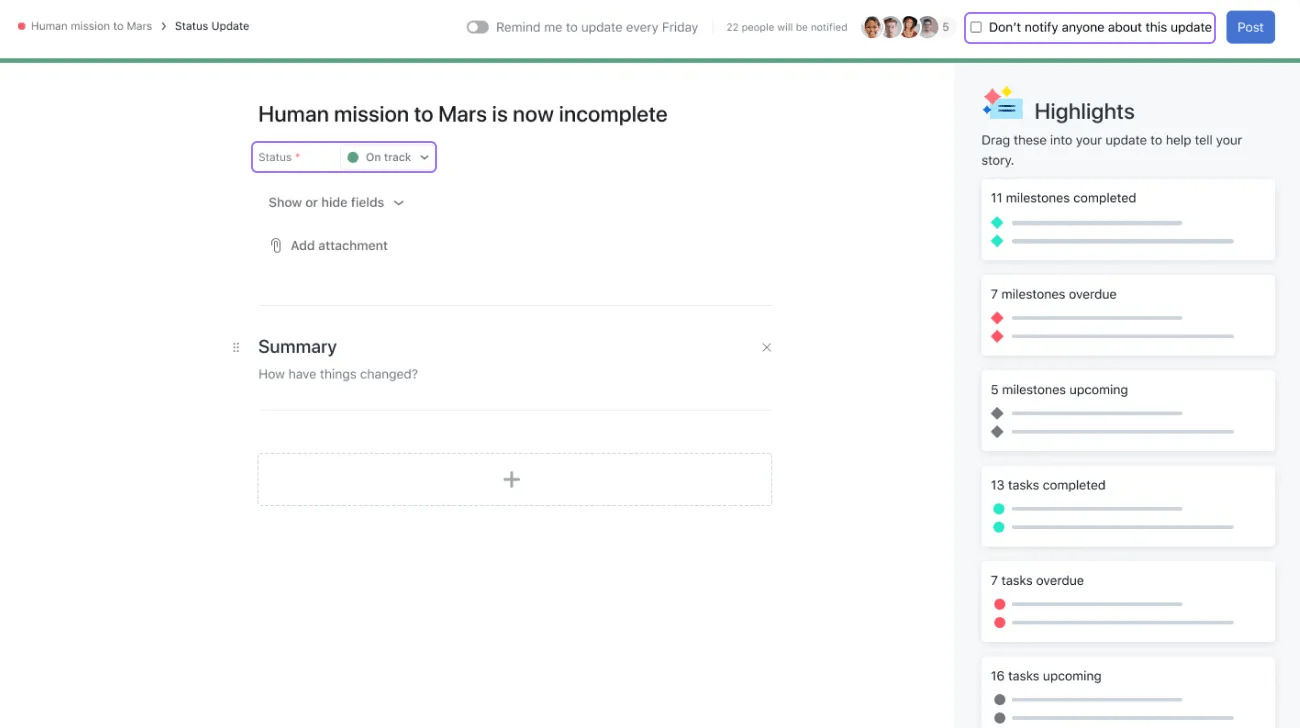
Users can also turn off notifications for this update by ticking the checkbox in the upper right-hand corner.
A project that has been completed and archived will show the Complete status and a banner that says "This project is archived".